Step 1: preparation
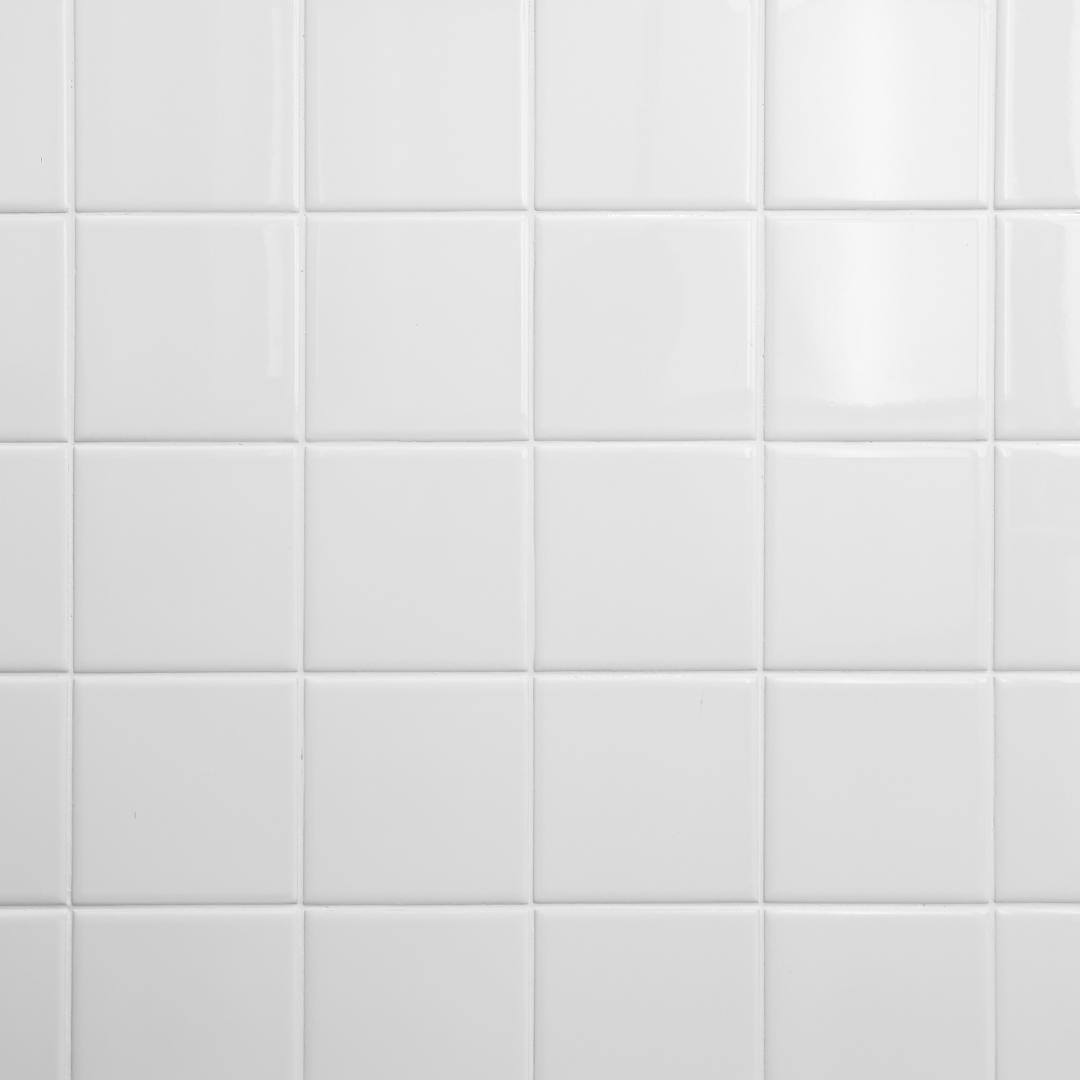
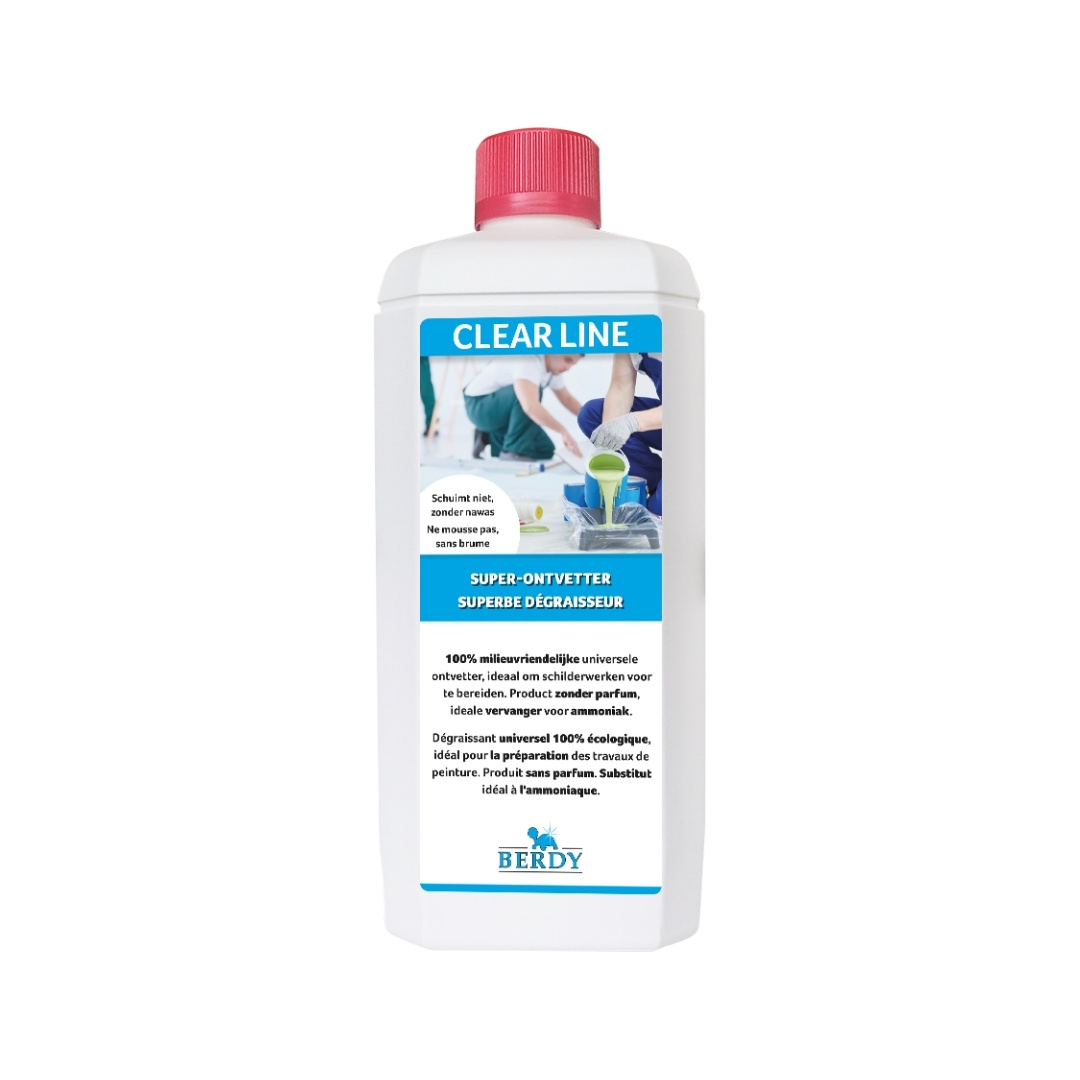
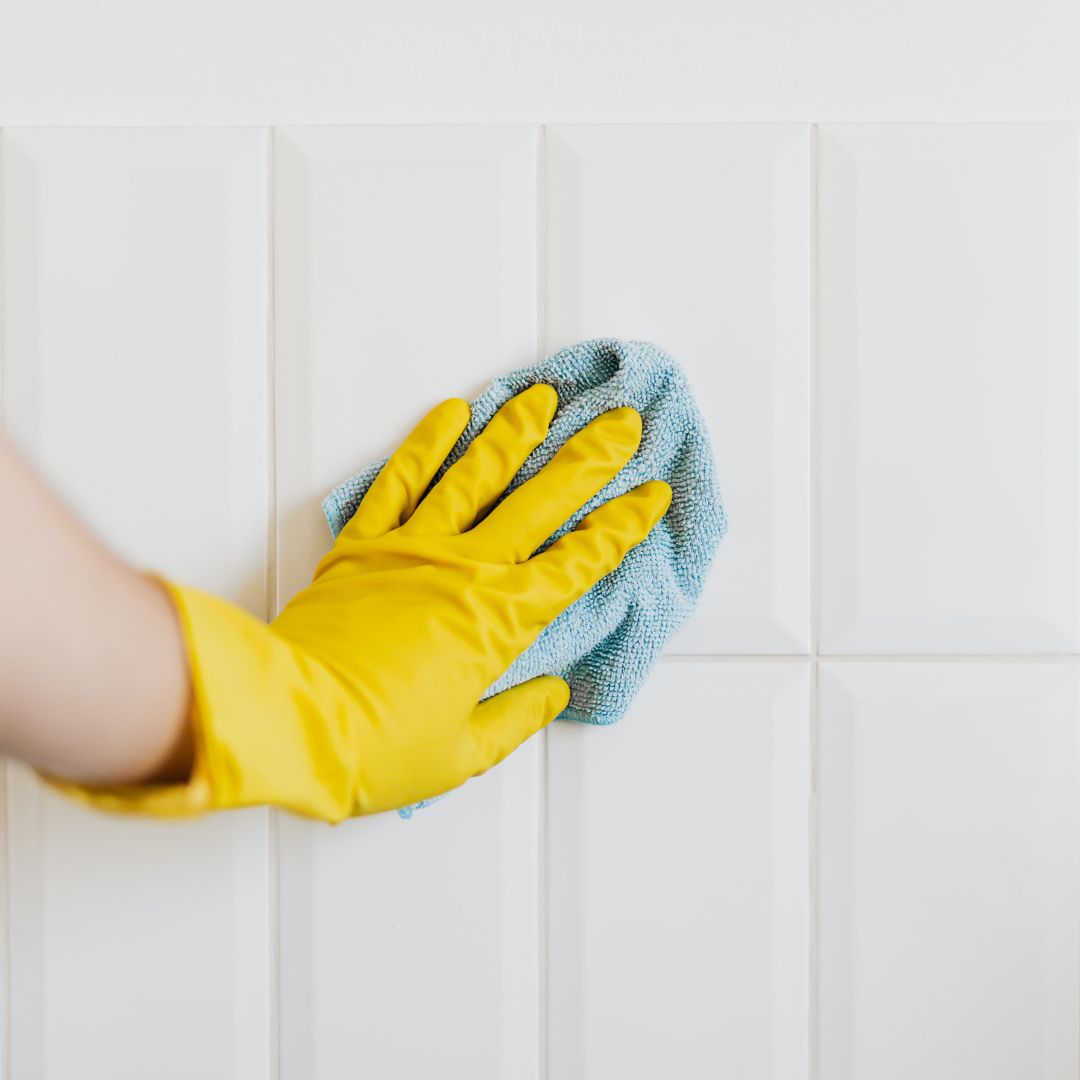
First, you'll want to prepare your tiles for painting, which means making sure the paint can adhere to the surface properly. You do so by cleaning and degreasing the tiles thoroughly first. Especially with kitchen tiles, it is important to degrease well. You can do this with washing-up liquid and water or with a degreaser. To degrease enamelled tiles, it is best to use acetone. Always rinse everything again with clean water so that no product residue is left on the tiles.
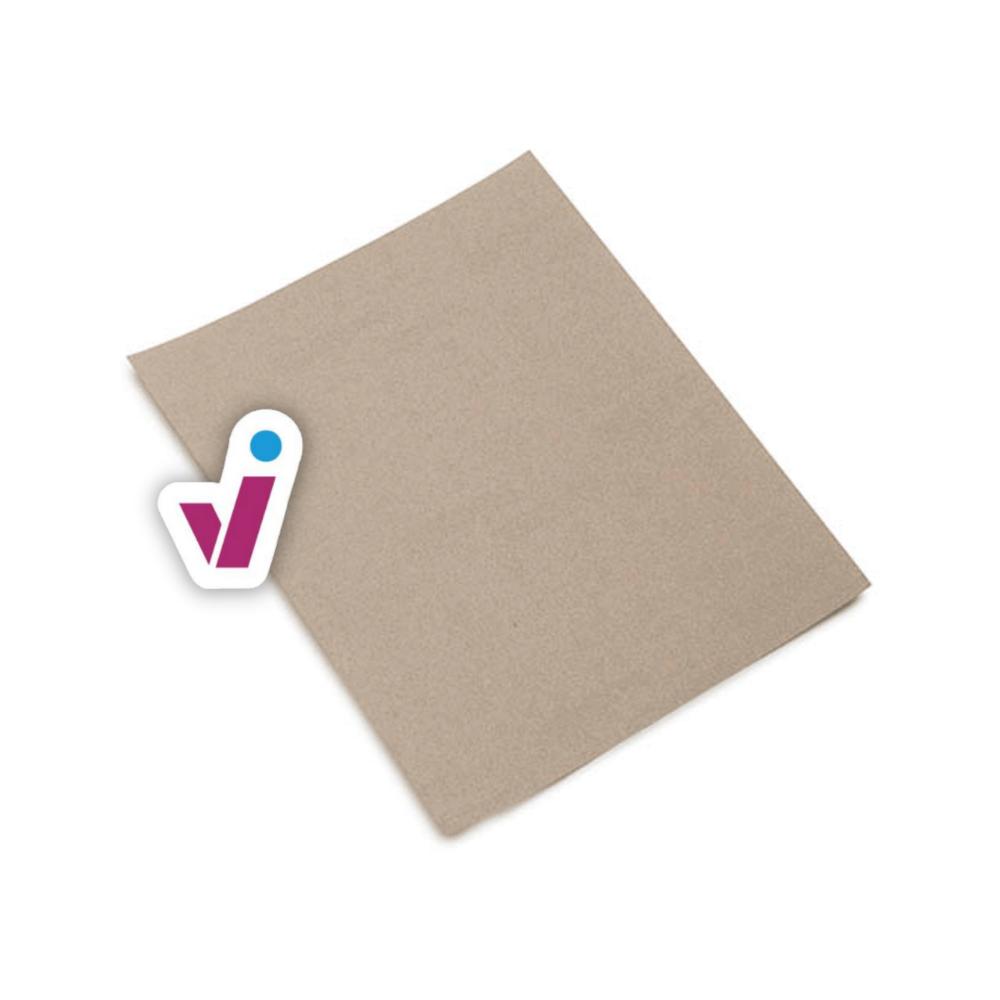
It is also advisable to roughen your tiles, for instance with sandpaper. For slick floor tiles, you need slightly more specific material; it is best to roughen them with a diamond wheel. When you pour water on the tiles and it doesn't stay on the surface, you know the tiles have been roughened sufficiently.
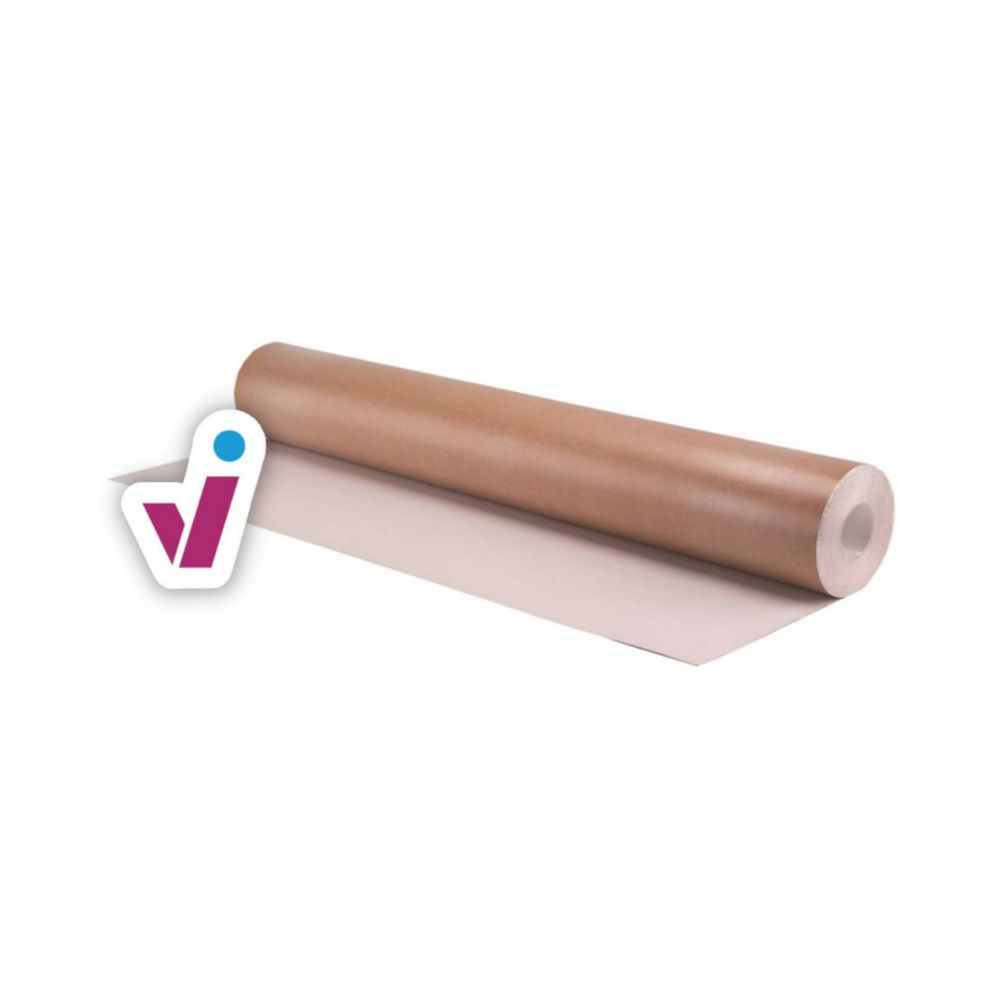
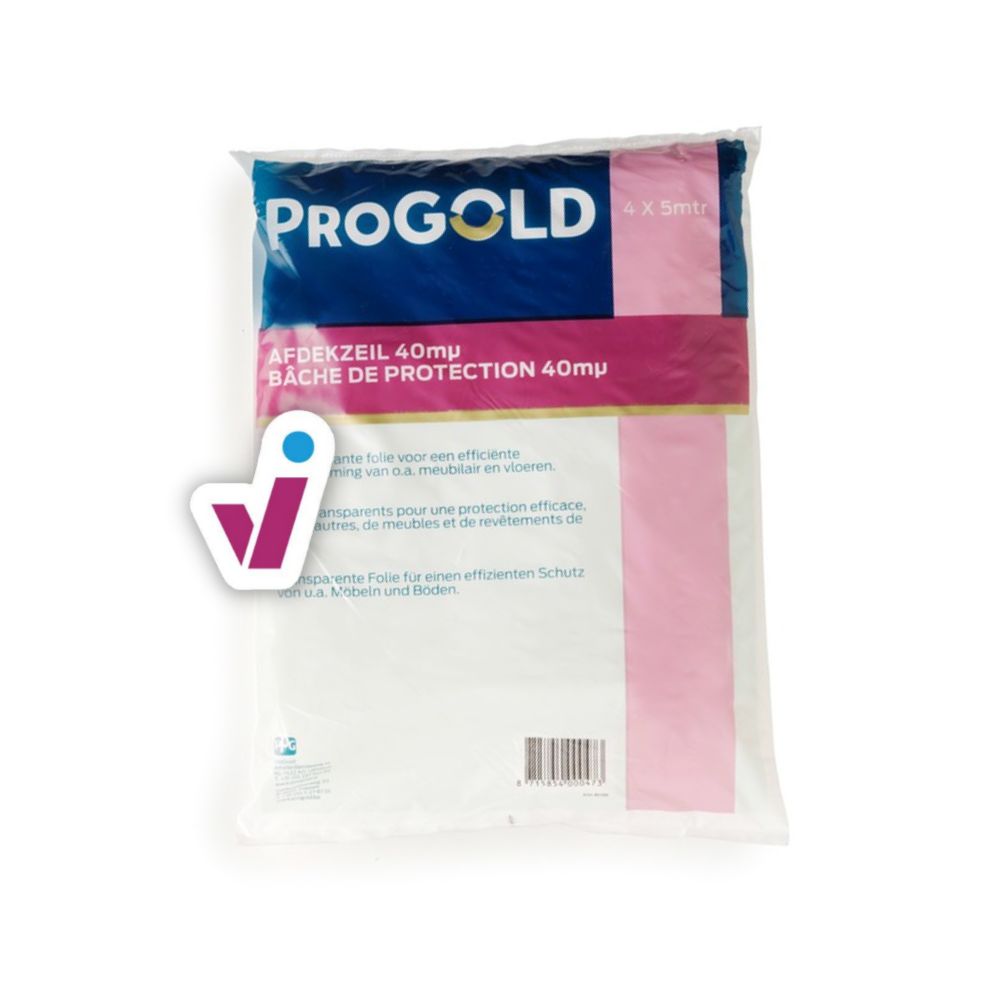
Next, prepare your surroundings for painting. The toilet, bath or kitchen cabinets can be covered with ProGold Covering Foil, floors can be protected if necessary with ProGold Covering Cardboard, and skirting boards or other edges can be neatly taped with 3M Gold Masking Tape.
Step 2: paint the tiles
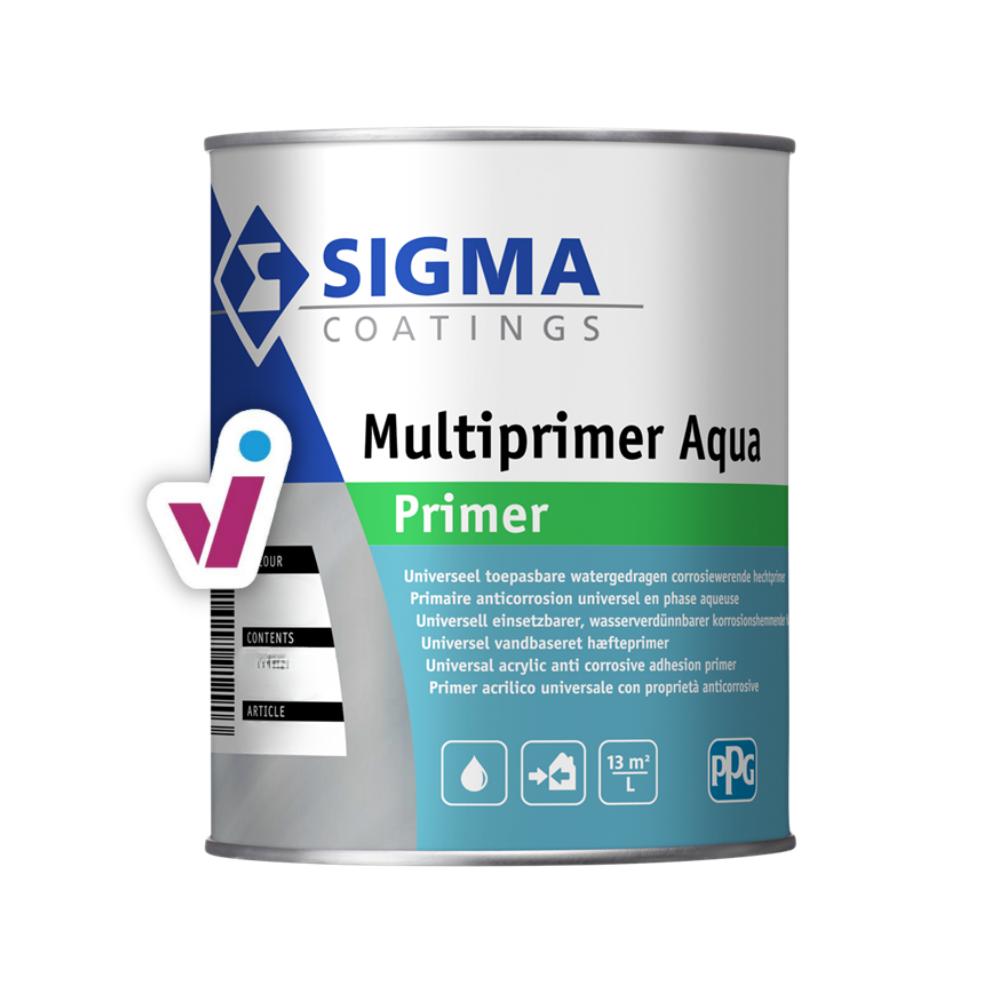
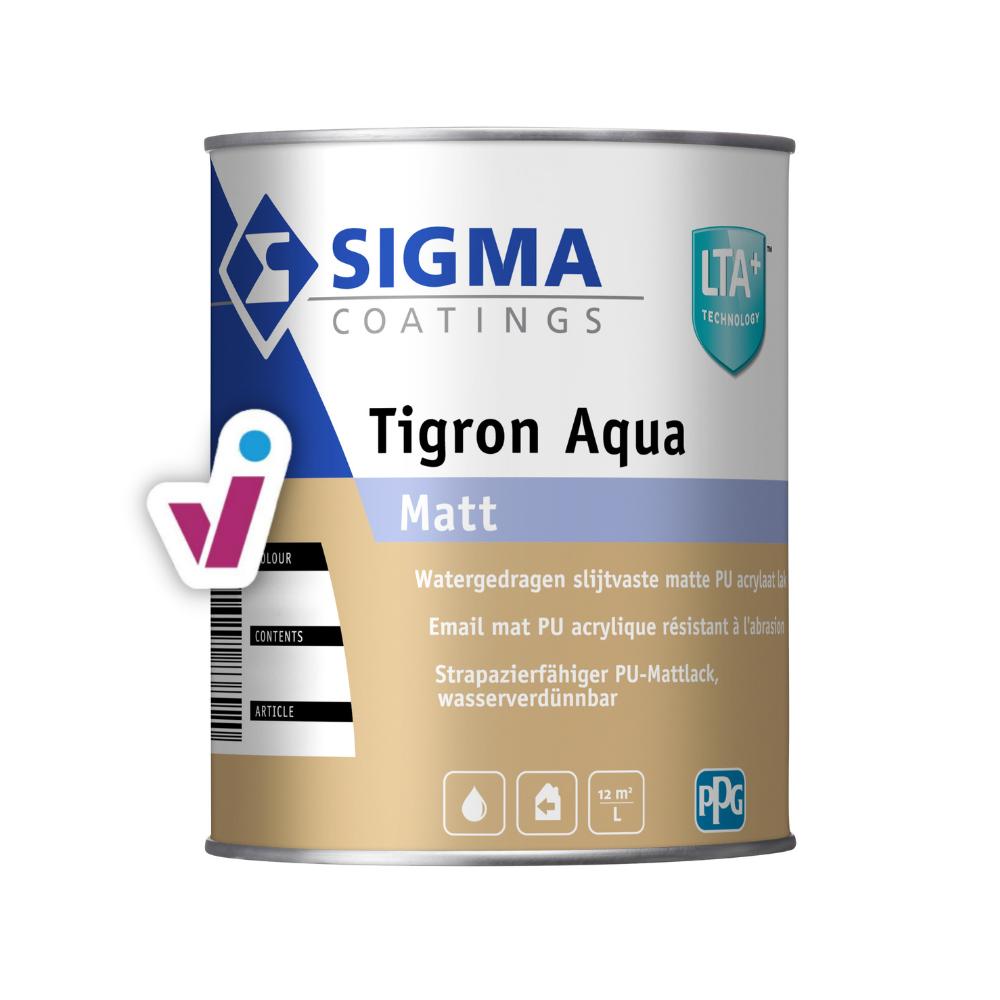
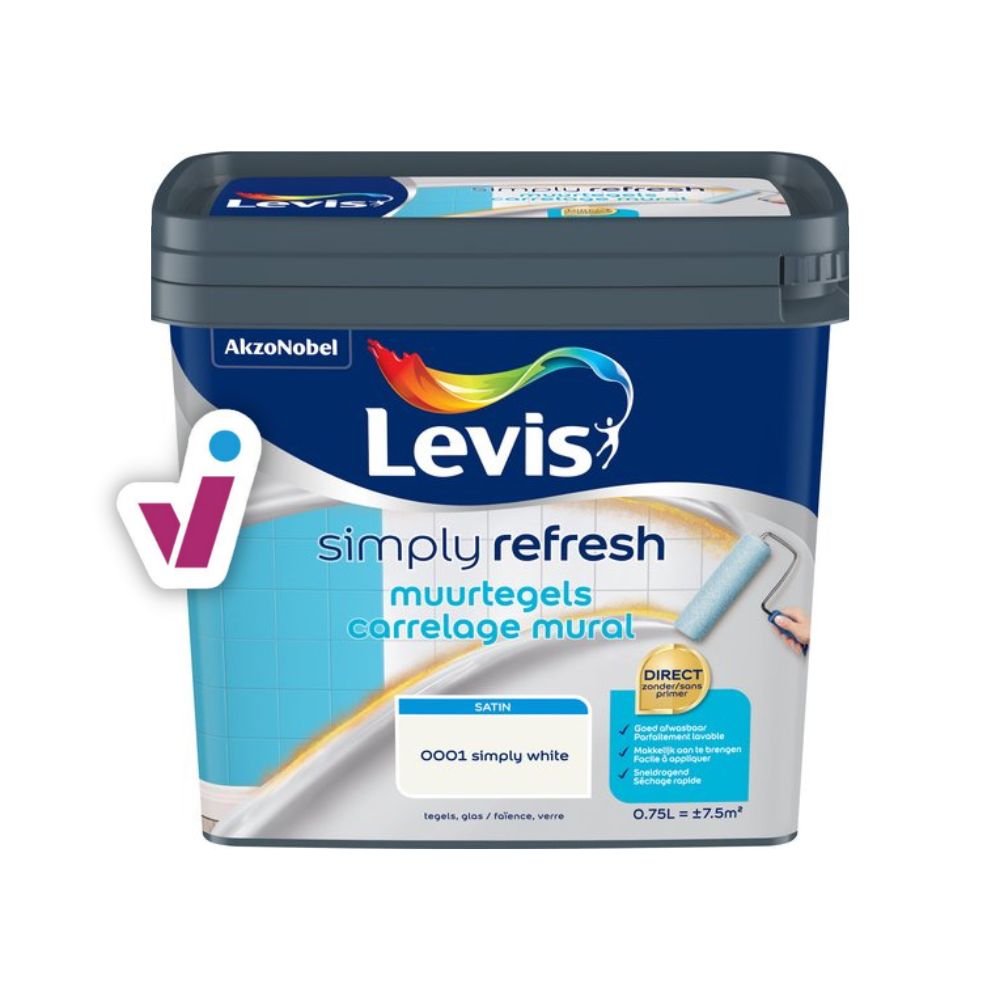
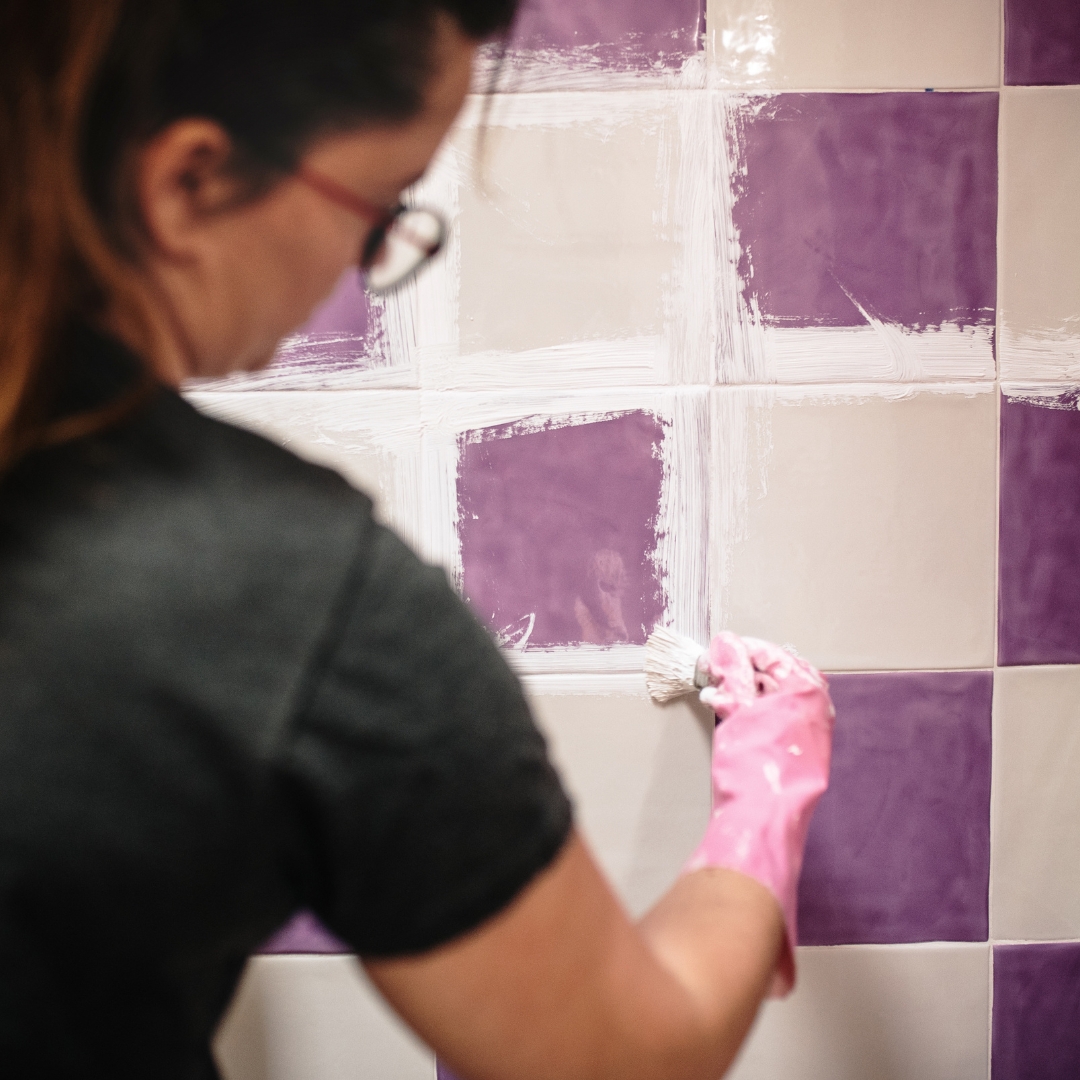
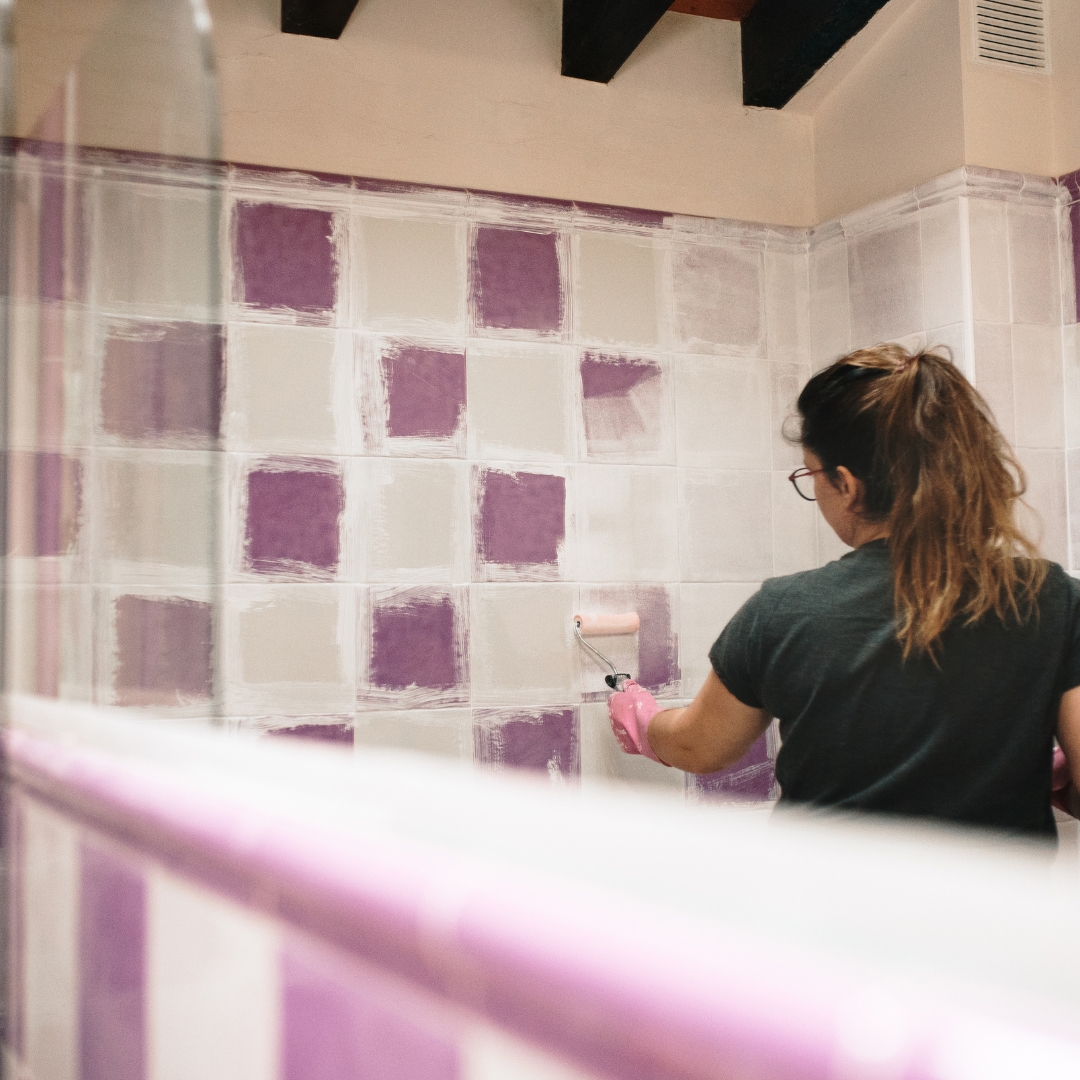
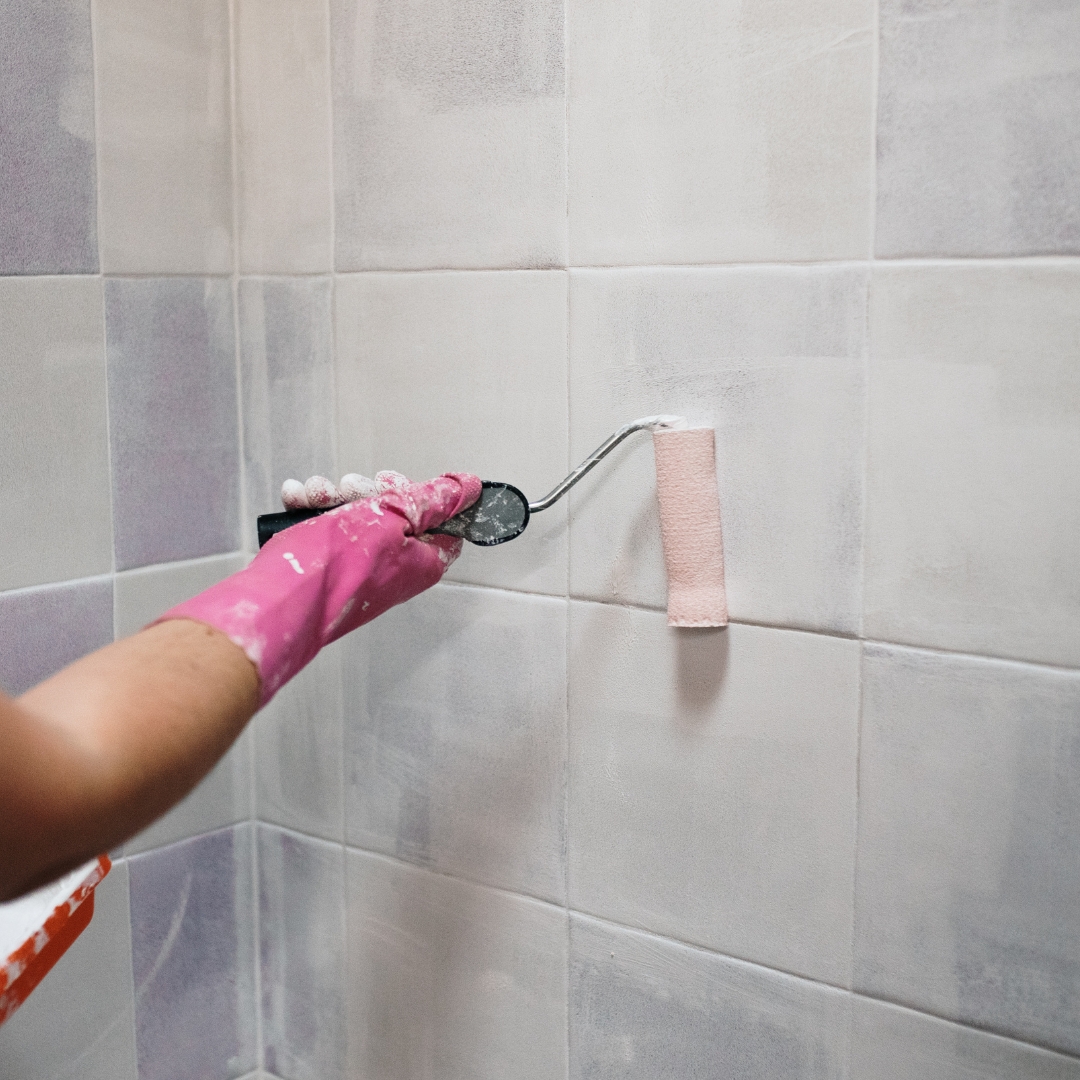
The next step is to apply a suitable primer and then paint. You can apply both the primer and final coats in the same way. Always start with a brush at the edges and over/around the joints.
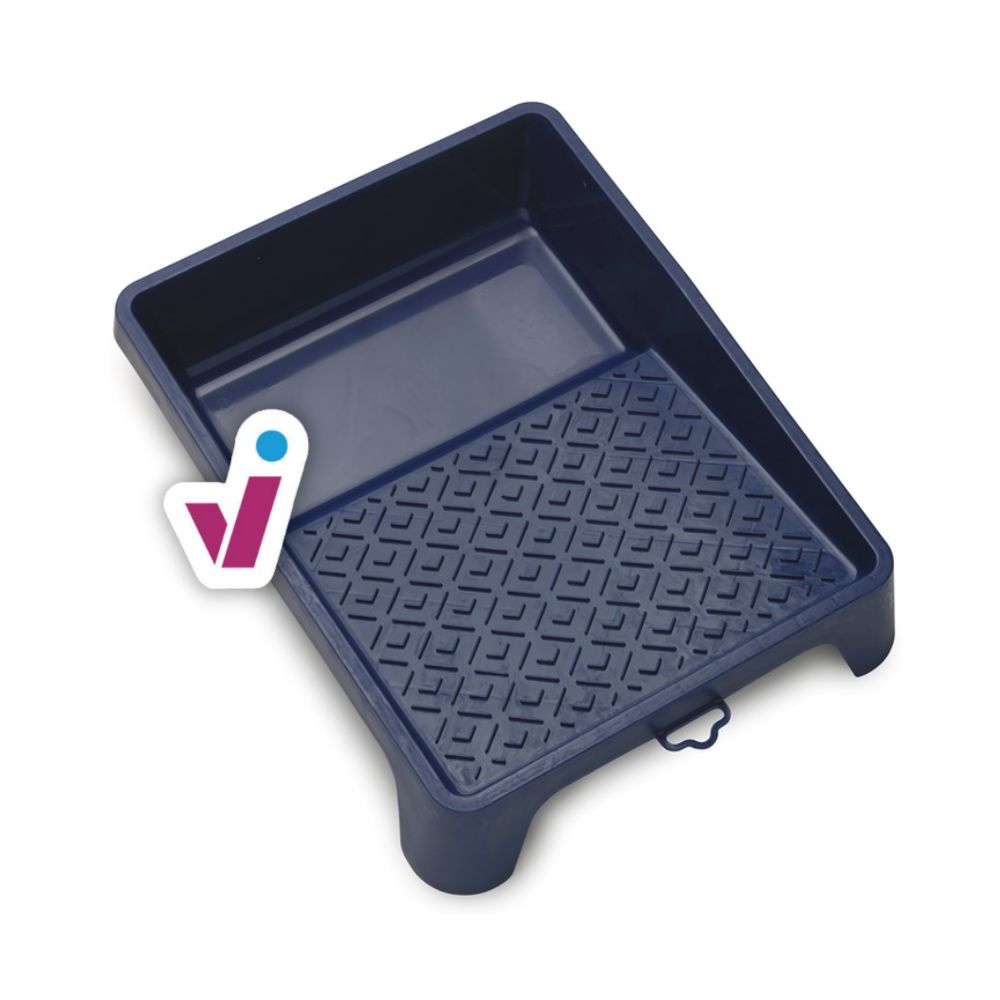
Next, use a paint roller to apply paint in vertical lines, which you'll then roll out further horizontally nicely, and if necessary further vertically afterwards, for a nice and even result.
Finally, remove the tape while the paint is still wet, and done!
Checklist
- Degrease and clean well
- Roughen the tiles a little
- Prepare the surroundings
- Apply (bonding) primer
- Finish with paint
Need help?
If some of the steps aren't entirely clear to you, or if you are in a specific situation that isn't covered by our how-to guide, then our experts will be happy to help.


