Step 1: preparation
When the radiator is still in good condition
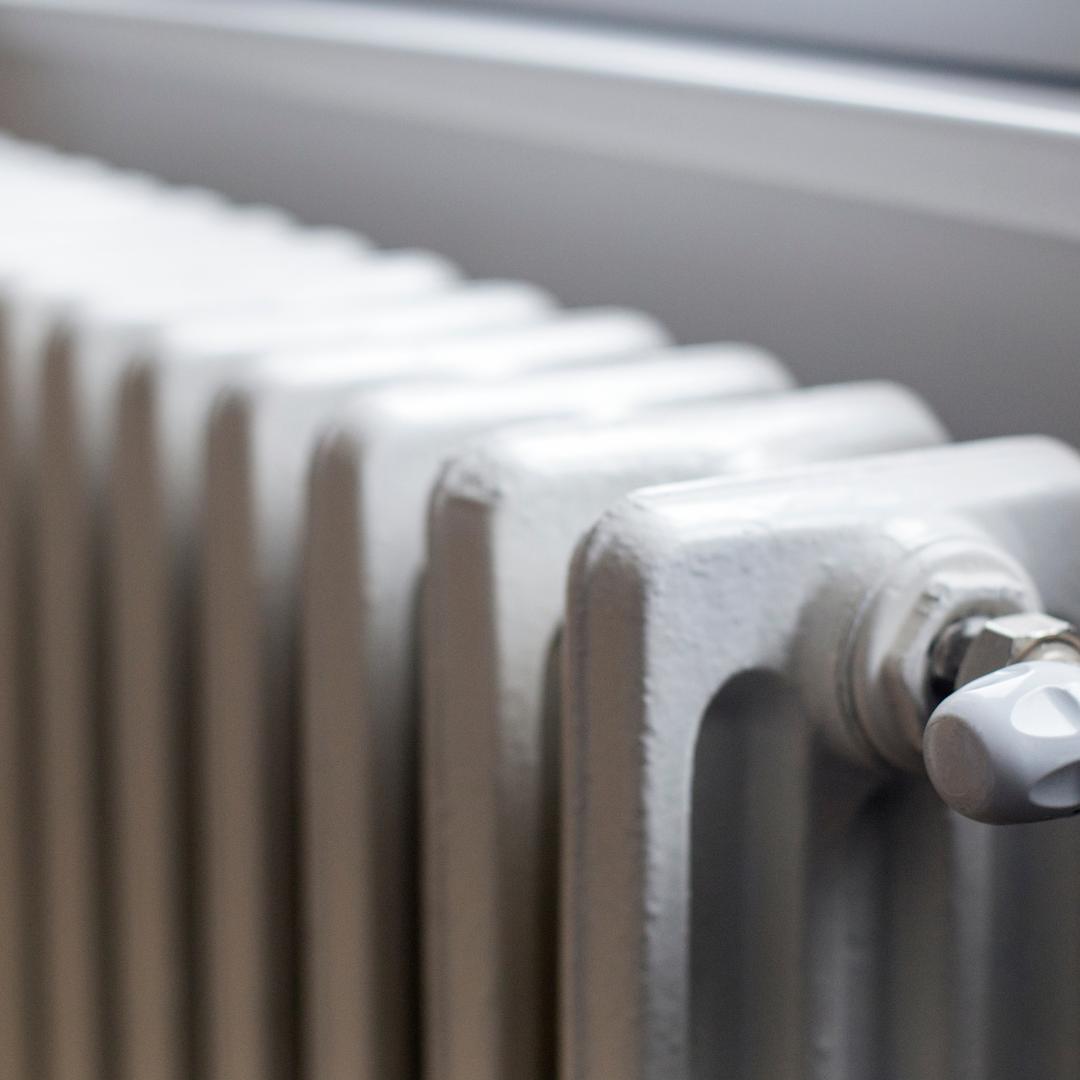
Before you start painting the radiator, it is important to make the right preparations. Firstly, you should turn off the heating in time to ensure that the radiator has cooled down completely.
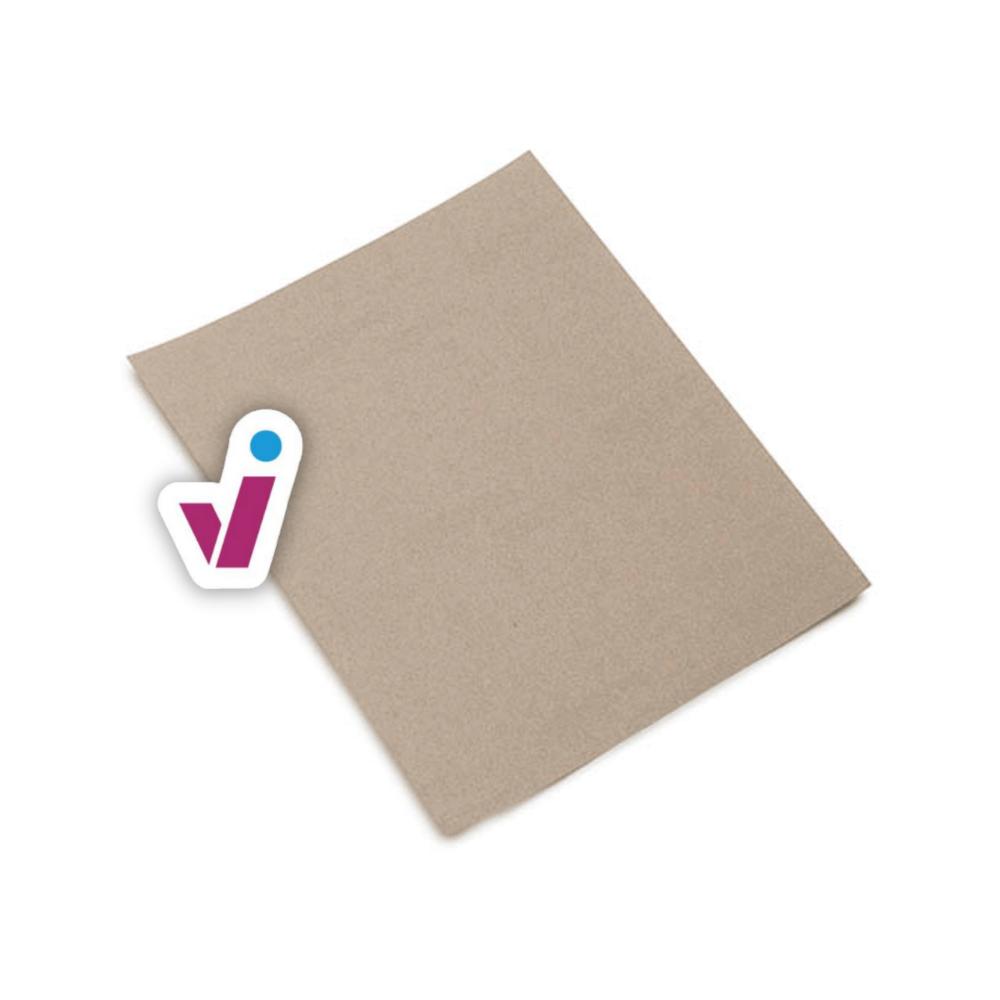
Next, you need to degrease and clean the radiator. It is also advisable to lightly sand the radiator with fine sandpaper. This is to help the paint adhere better.
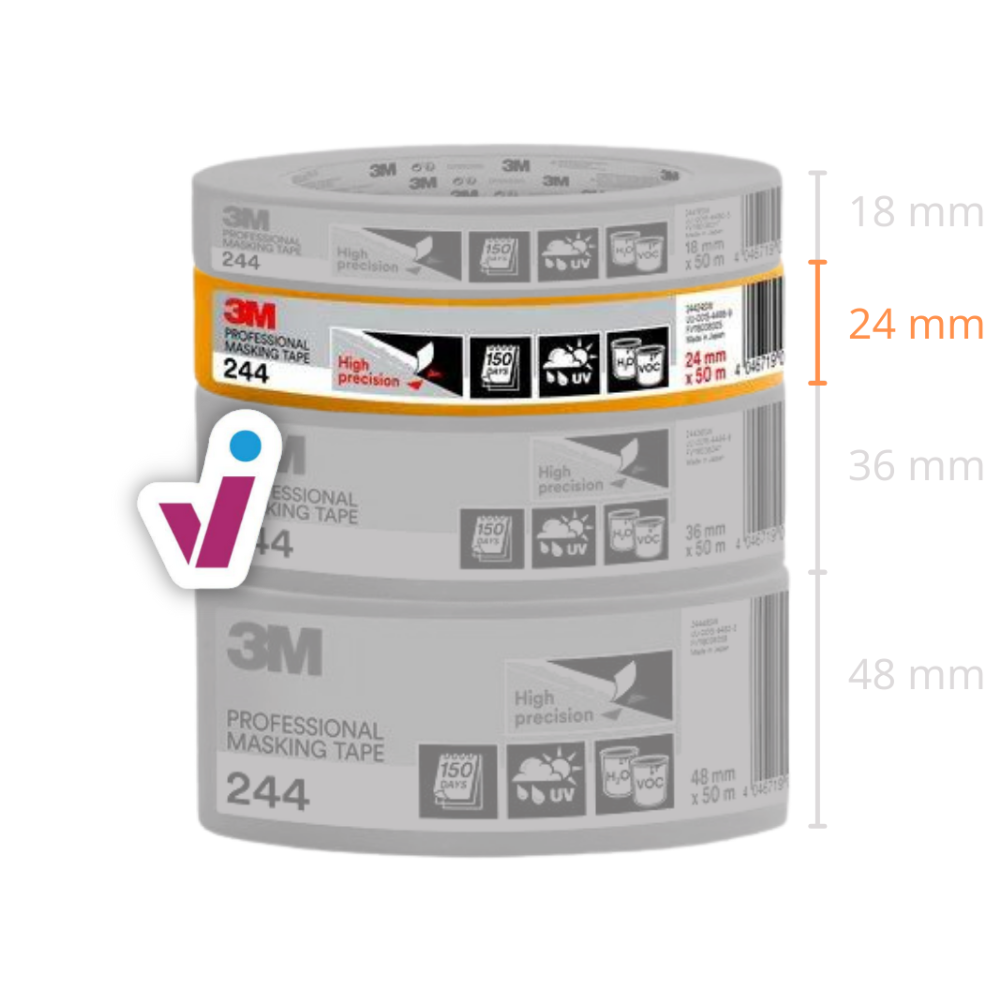
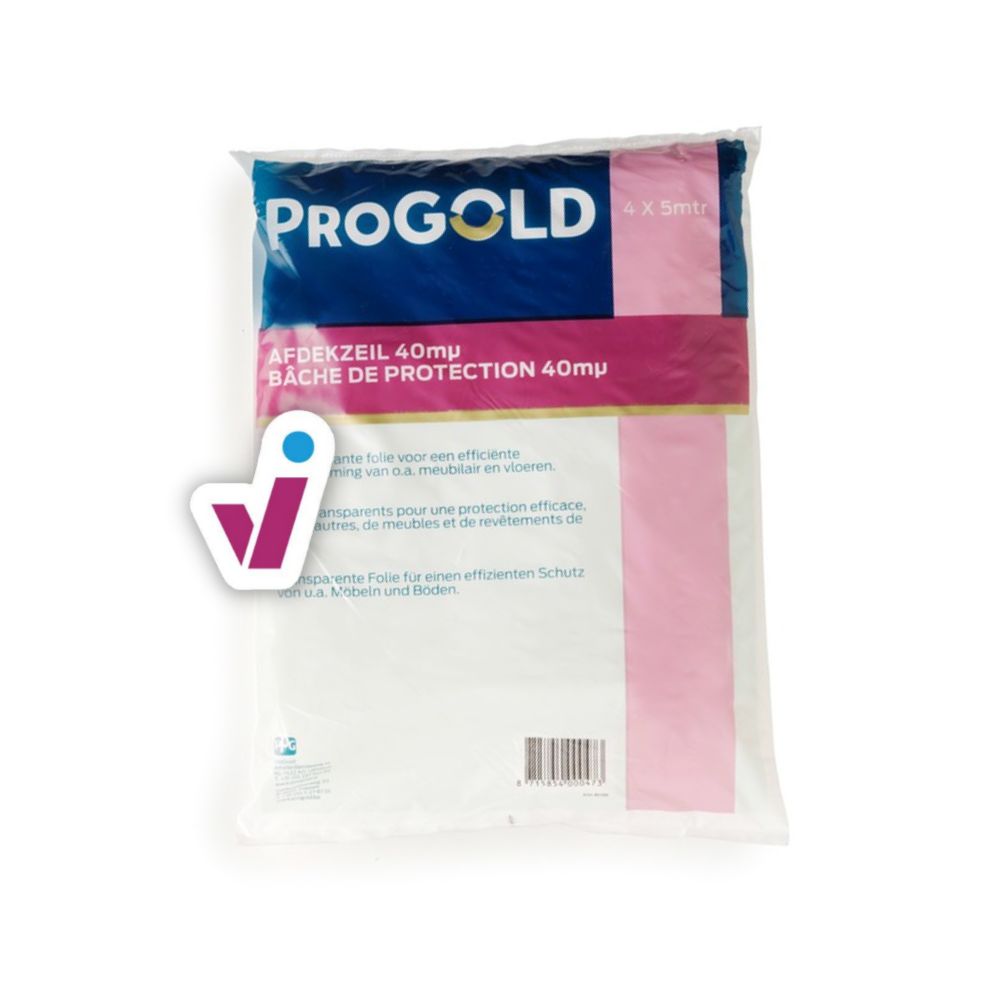
In addition, it is important to properly prepare the surroundings. Use masking tape and masking film to protect any surrounding surfaces from paint splatter. Make sure you cover adequately, especially if you choose to spray the radiator.
When the radiator is no longer in good shape
If the radiator is no longer in good shape, it is necessary to remove the old paint and any rust before you start painting.
There are several methods to remove old paint, including sanding. Of course, you can also use paint stripper. Highly effective, but it could get messy at times.
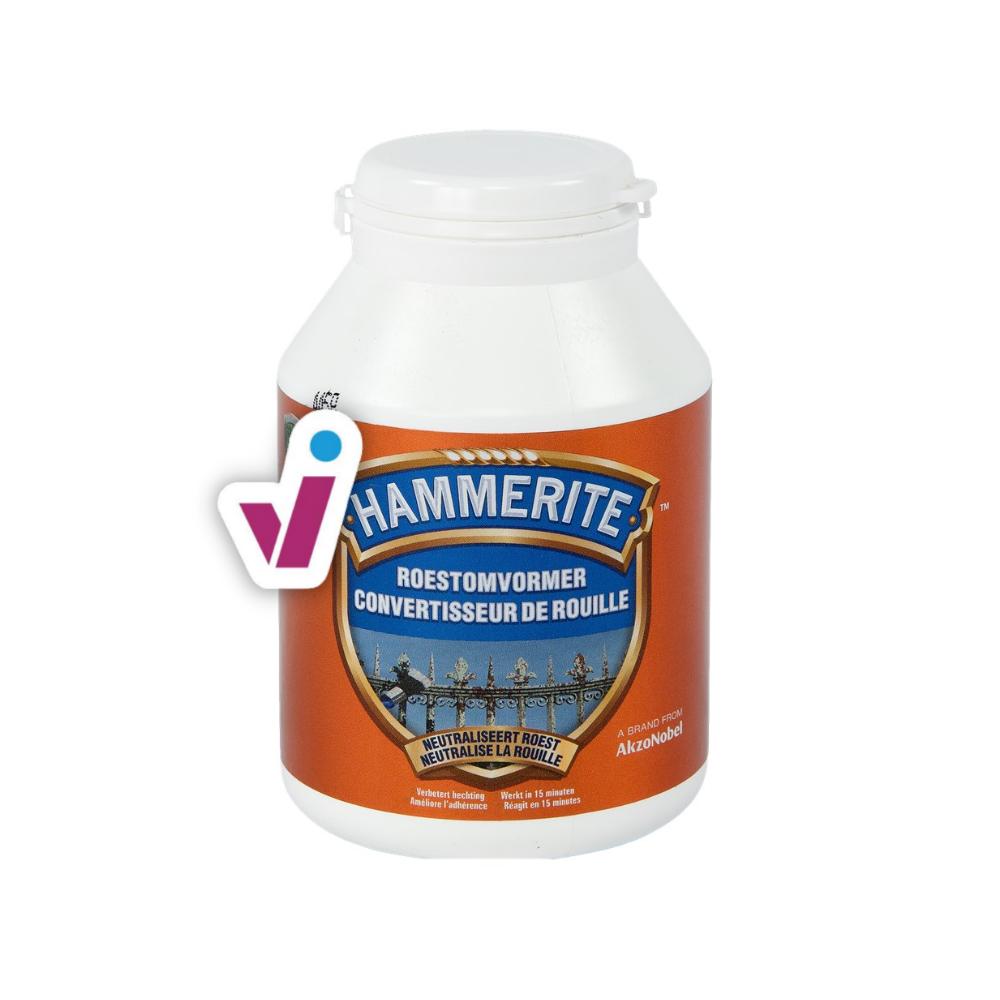
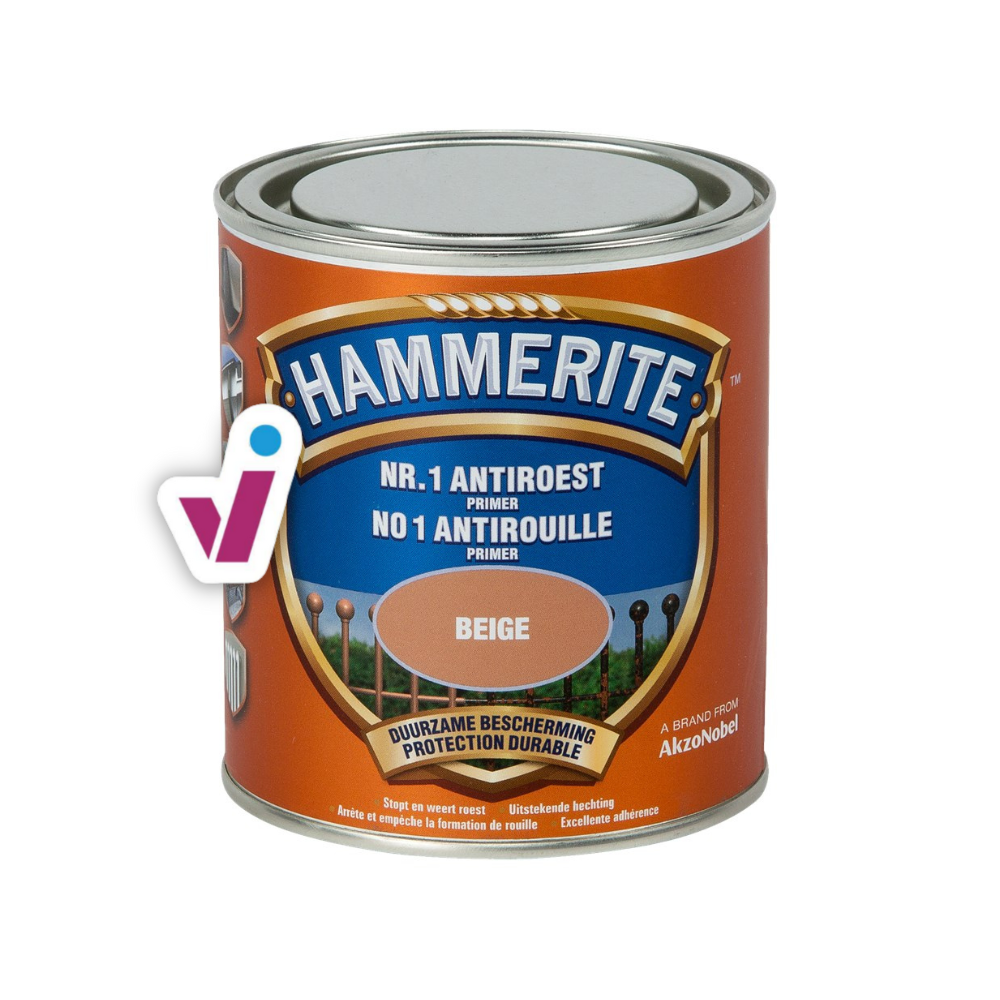
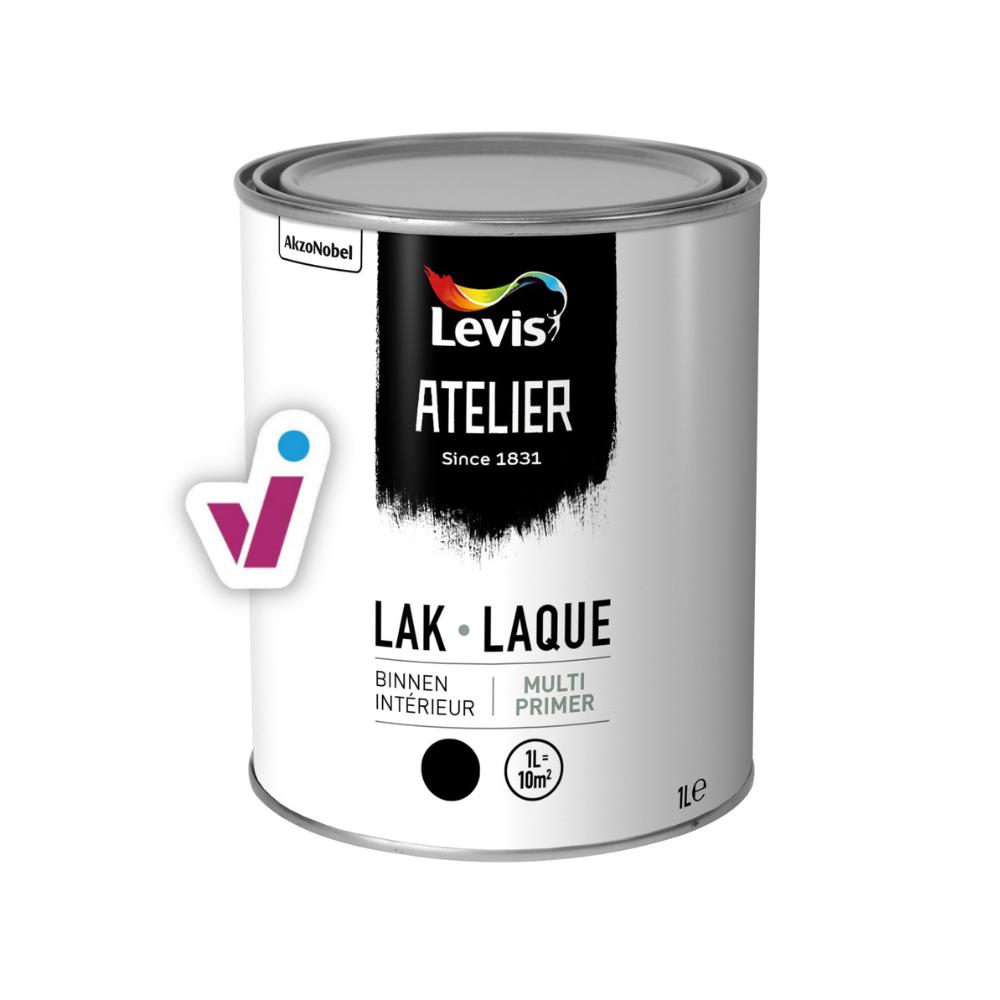
Depending on the condition of the radiator, you may also need to deal with rust. To do so, you can use a special rust converter, or you can de-rust by sanding. Next, always apply a special anti-rust primer before painting.
Product to transform rust to a solid surface for further finishing with Hammerite Metallic paints and other most common paints.
Product to transform rust to a solid surface for further finishing with Hammerite Metallic paints and other most common paints.
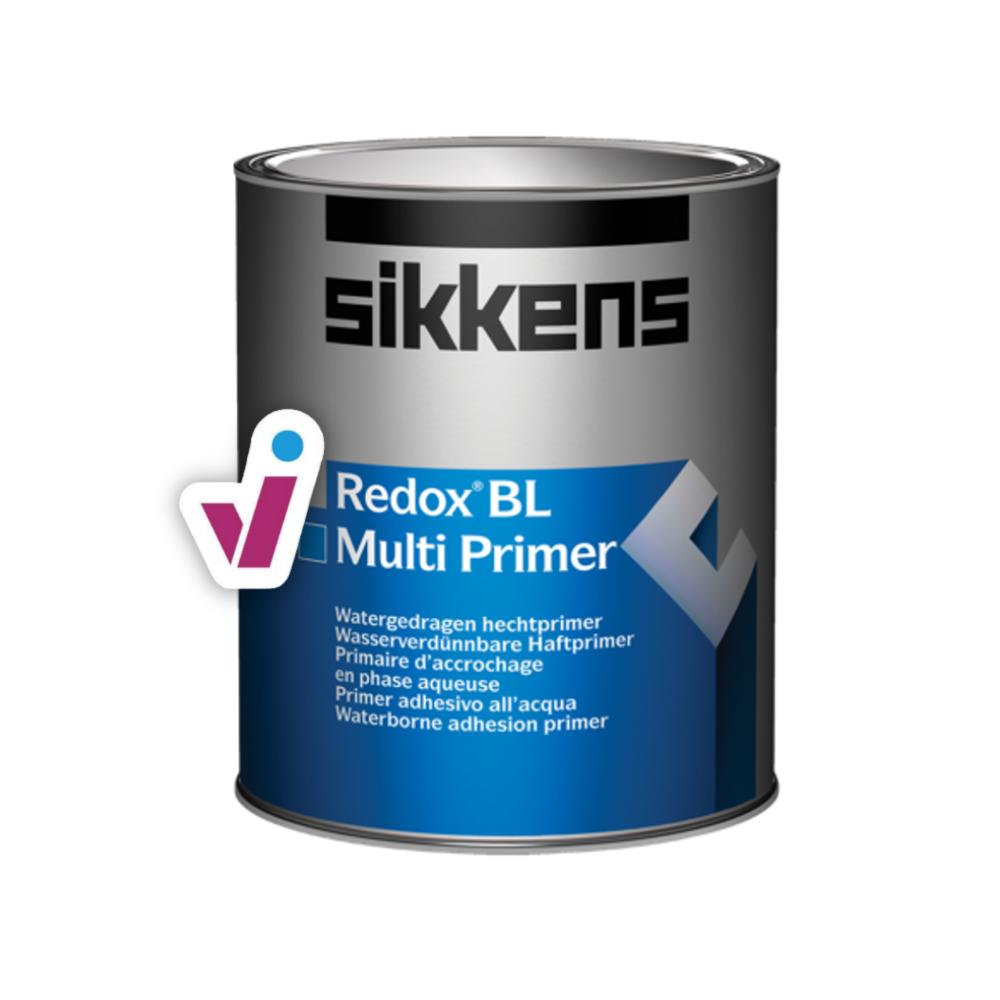
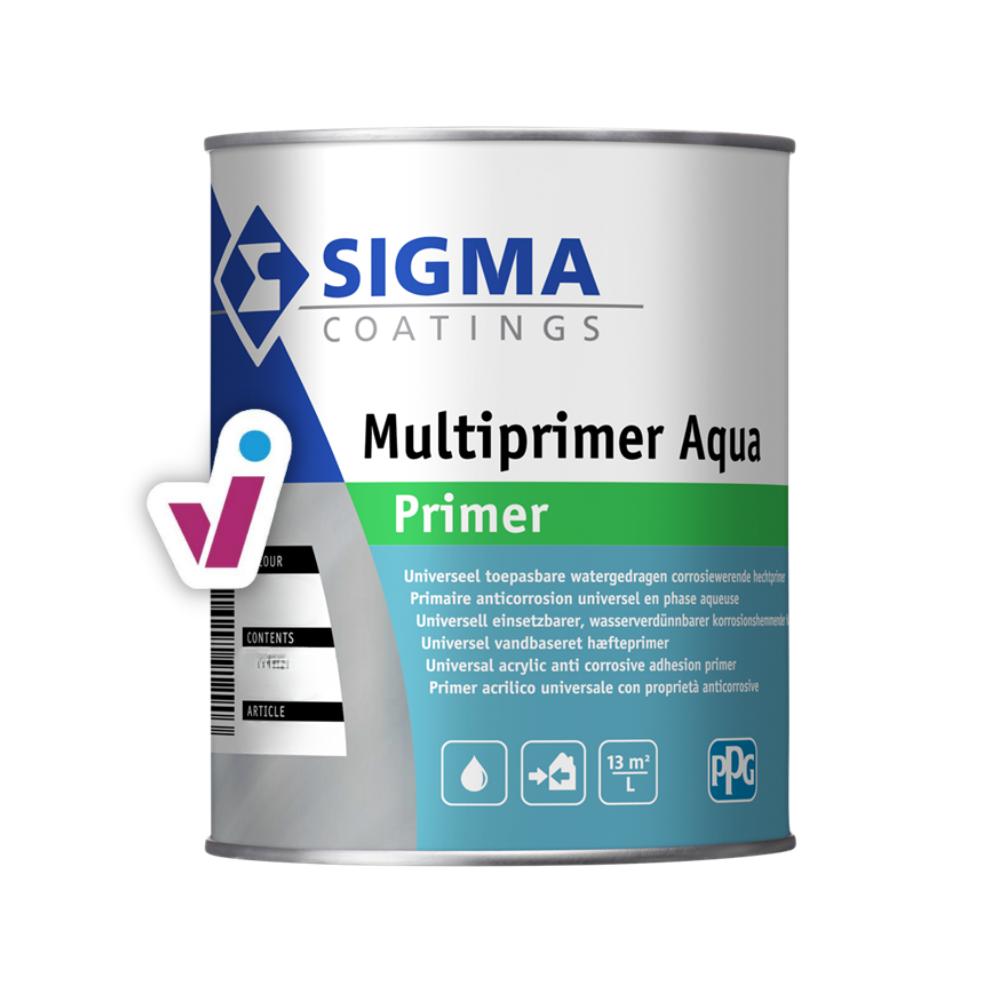
Highly effective, protective primer for untreated and rusted metal indoors and outdoors.
Highly effective, protective primer for untreated and rusted metal indoors and outdoors.
Step 2: painting
Roller, brush or spray?
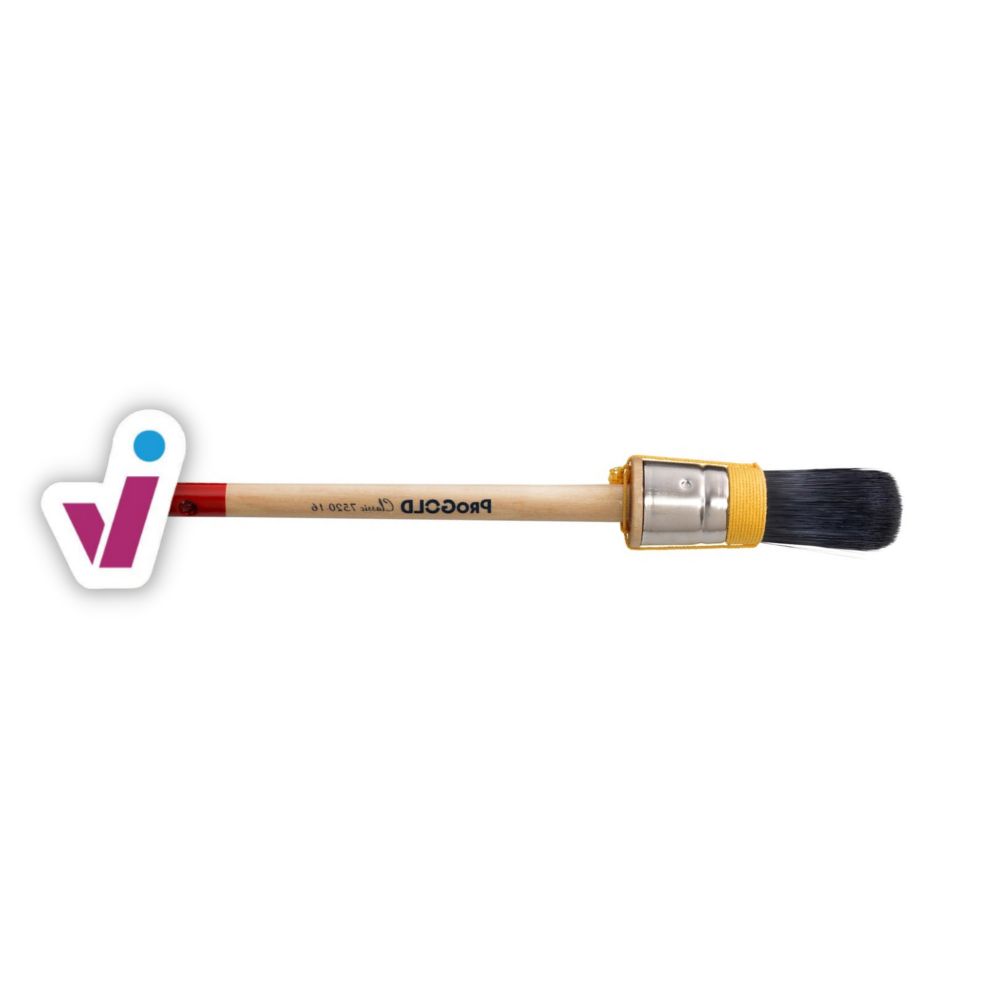
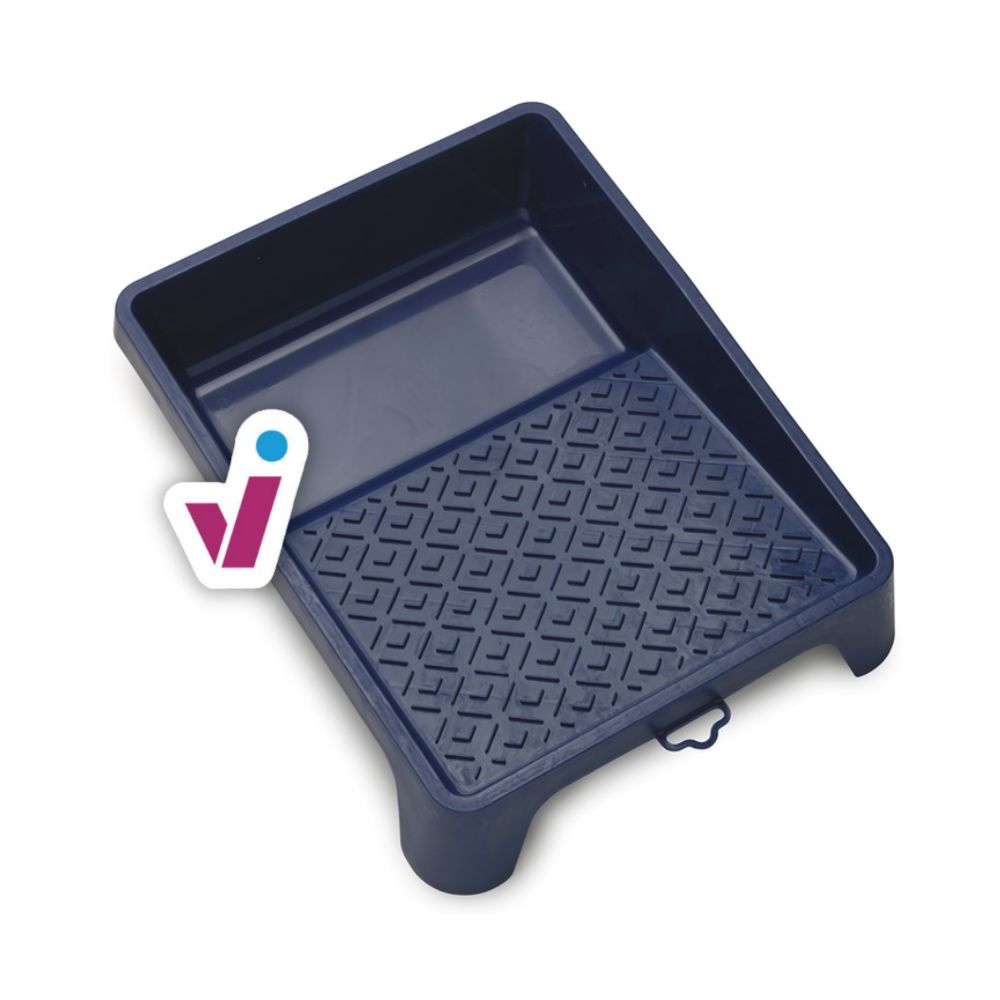
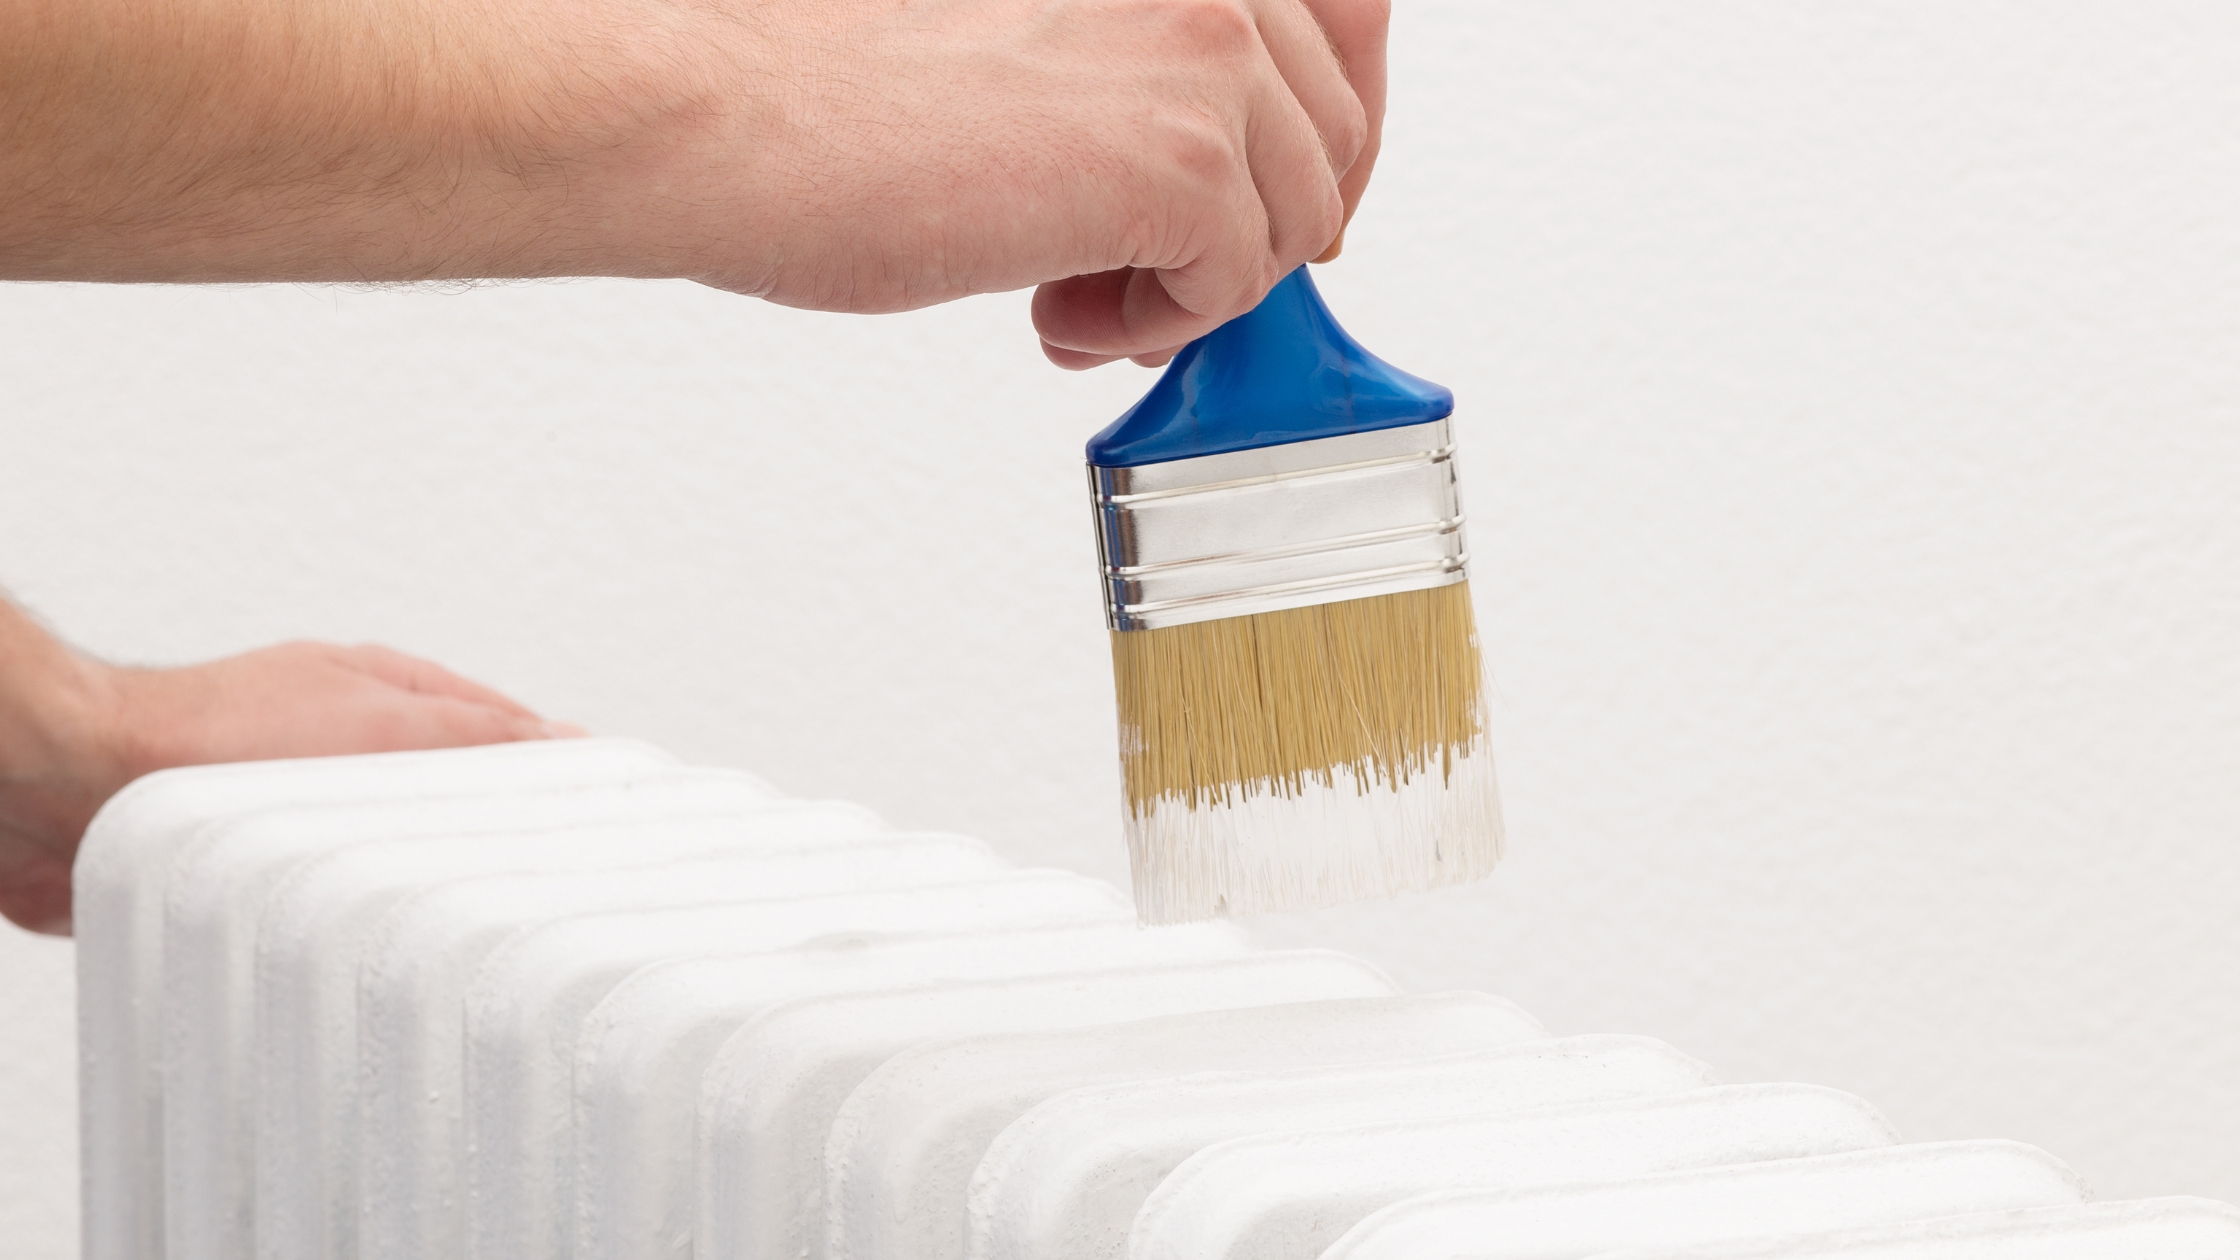
You can choose between a roller, brush or spray to paint the radiator. If you use a roller or brush, it is important not to apply too much paint at once. This will prevent drips, which could otherwise quickly occur on the vertical surface. Roll out the paint from top to bottom and use a brush for the hard-to-reach edges.
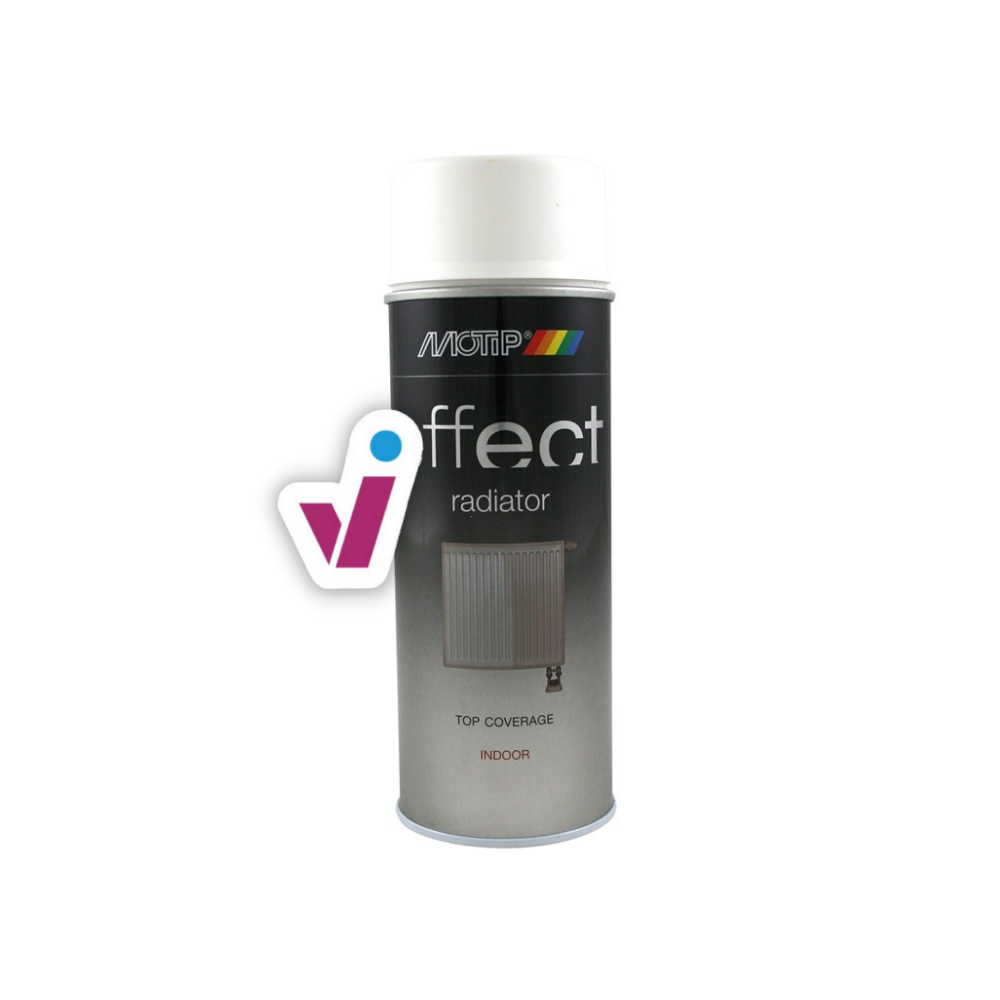
If you paint the radiator with a spray, you can easily cover the surface of the radiator evenly, especially in hard-to-reach areas. Make sure you shake the spray can well beforehand and apply several thin coats. Extra tip: turn the spray can upside down and then spray briefly to clean the nozzle after use.
Regardless of the chosen method, it is always best to check the drying time of the paint. When the paint is thoroughly dry, preferably also wait at least 24 hours before resuming use of the radiator.
How many layers?
Generally, two to three coats of paint are recommended for good coverage and durability, but it also depends a bit on what kind of paint you're using.
For example, if you use Hammerite's radiator paint on a radiator that is still in good condition, then one coat may be enough. If you had a lot of work refurbishing the heater, then a second coat will probably be more of a necessity than an option.
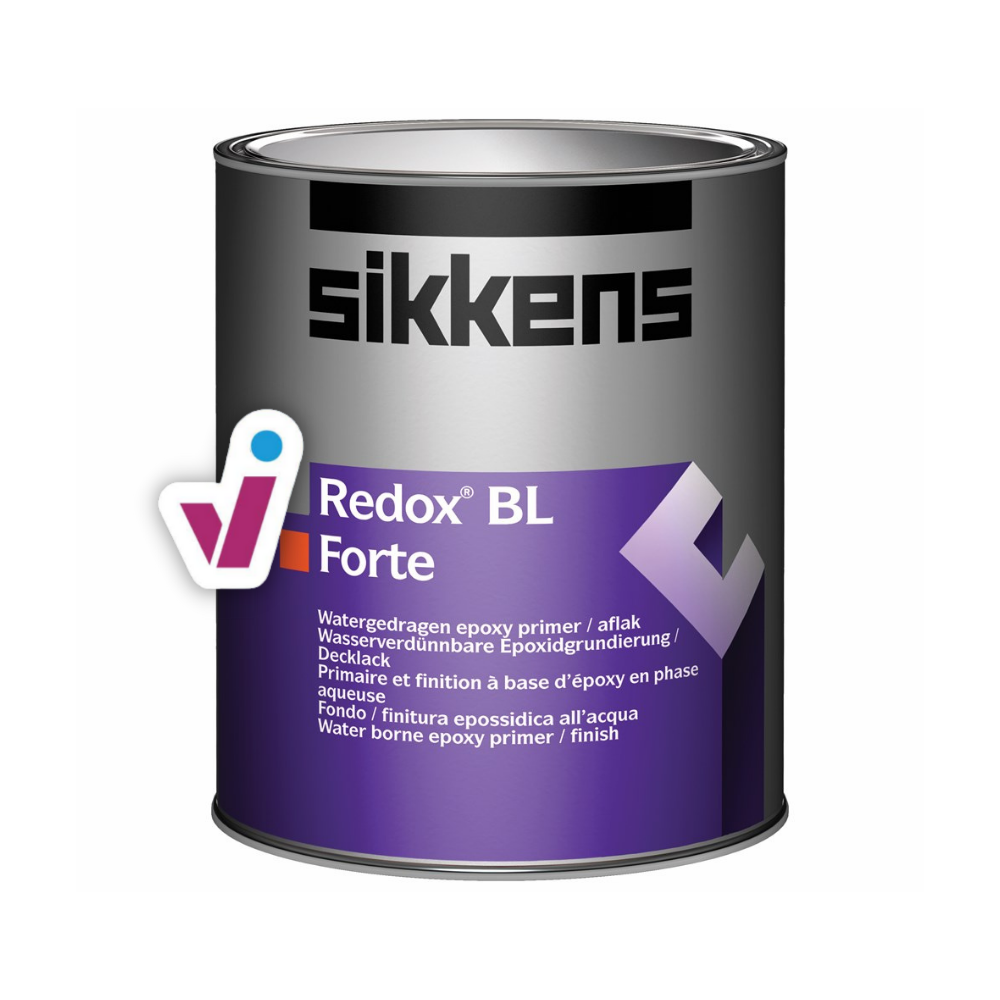
If you're working with a special primer and a water-based paint, you need at least one coat of each anyway. Finally, with a spray can, you should always spray several thin layers. It is best to check the degree of coverage after each layer you apply.
In any case, be sure to always allow sufficient drying time before applying the next coat.
ℹ️ Which paint to use?
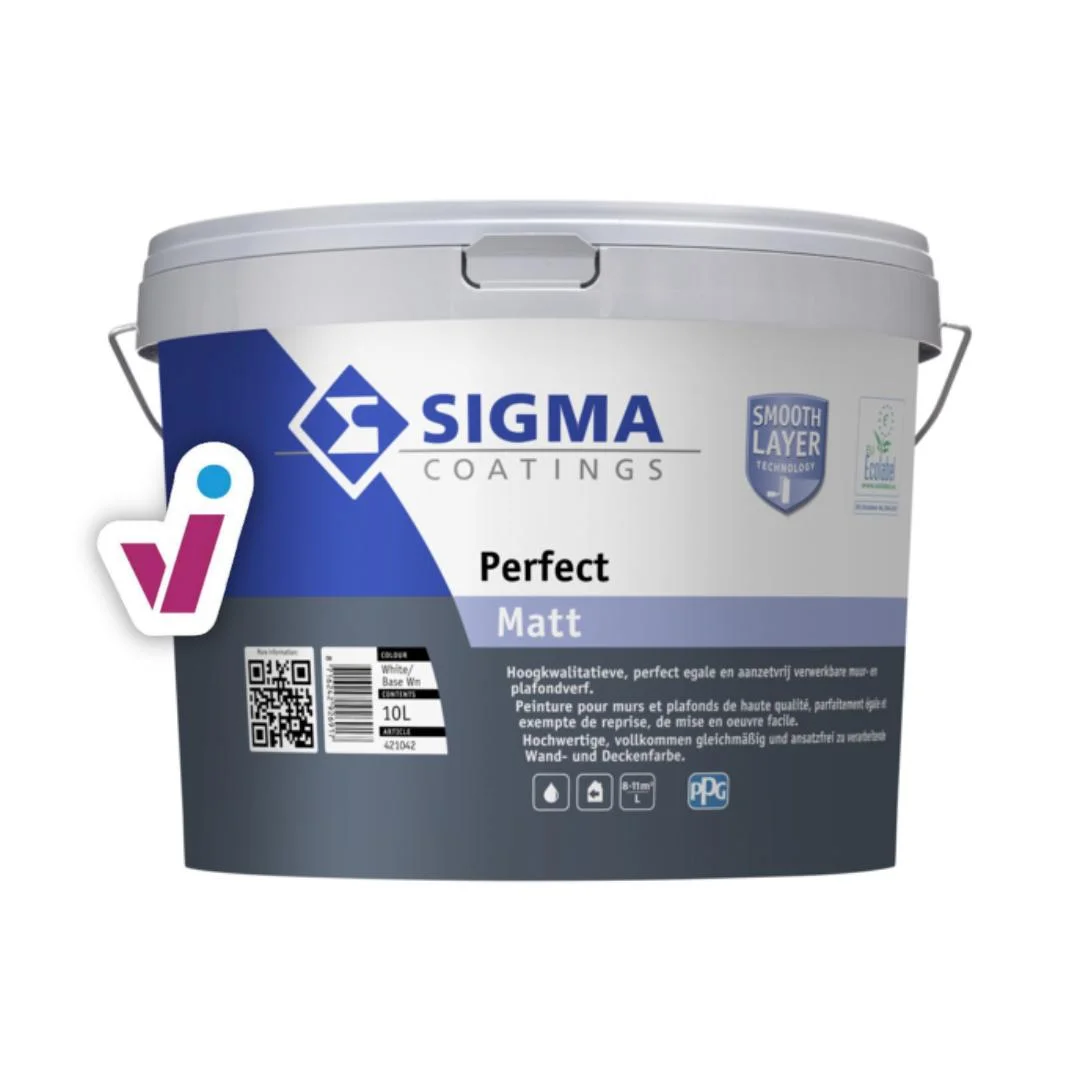
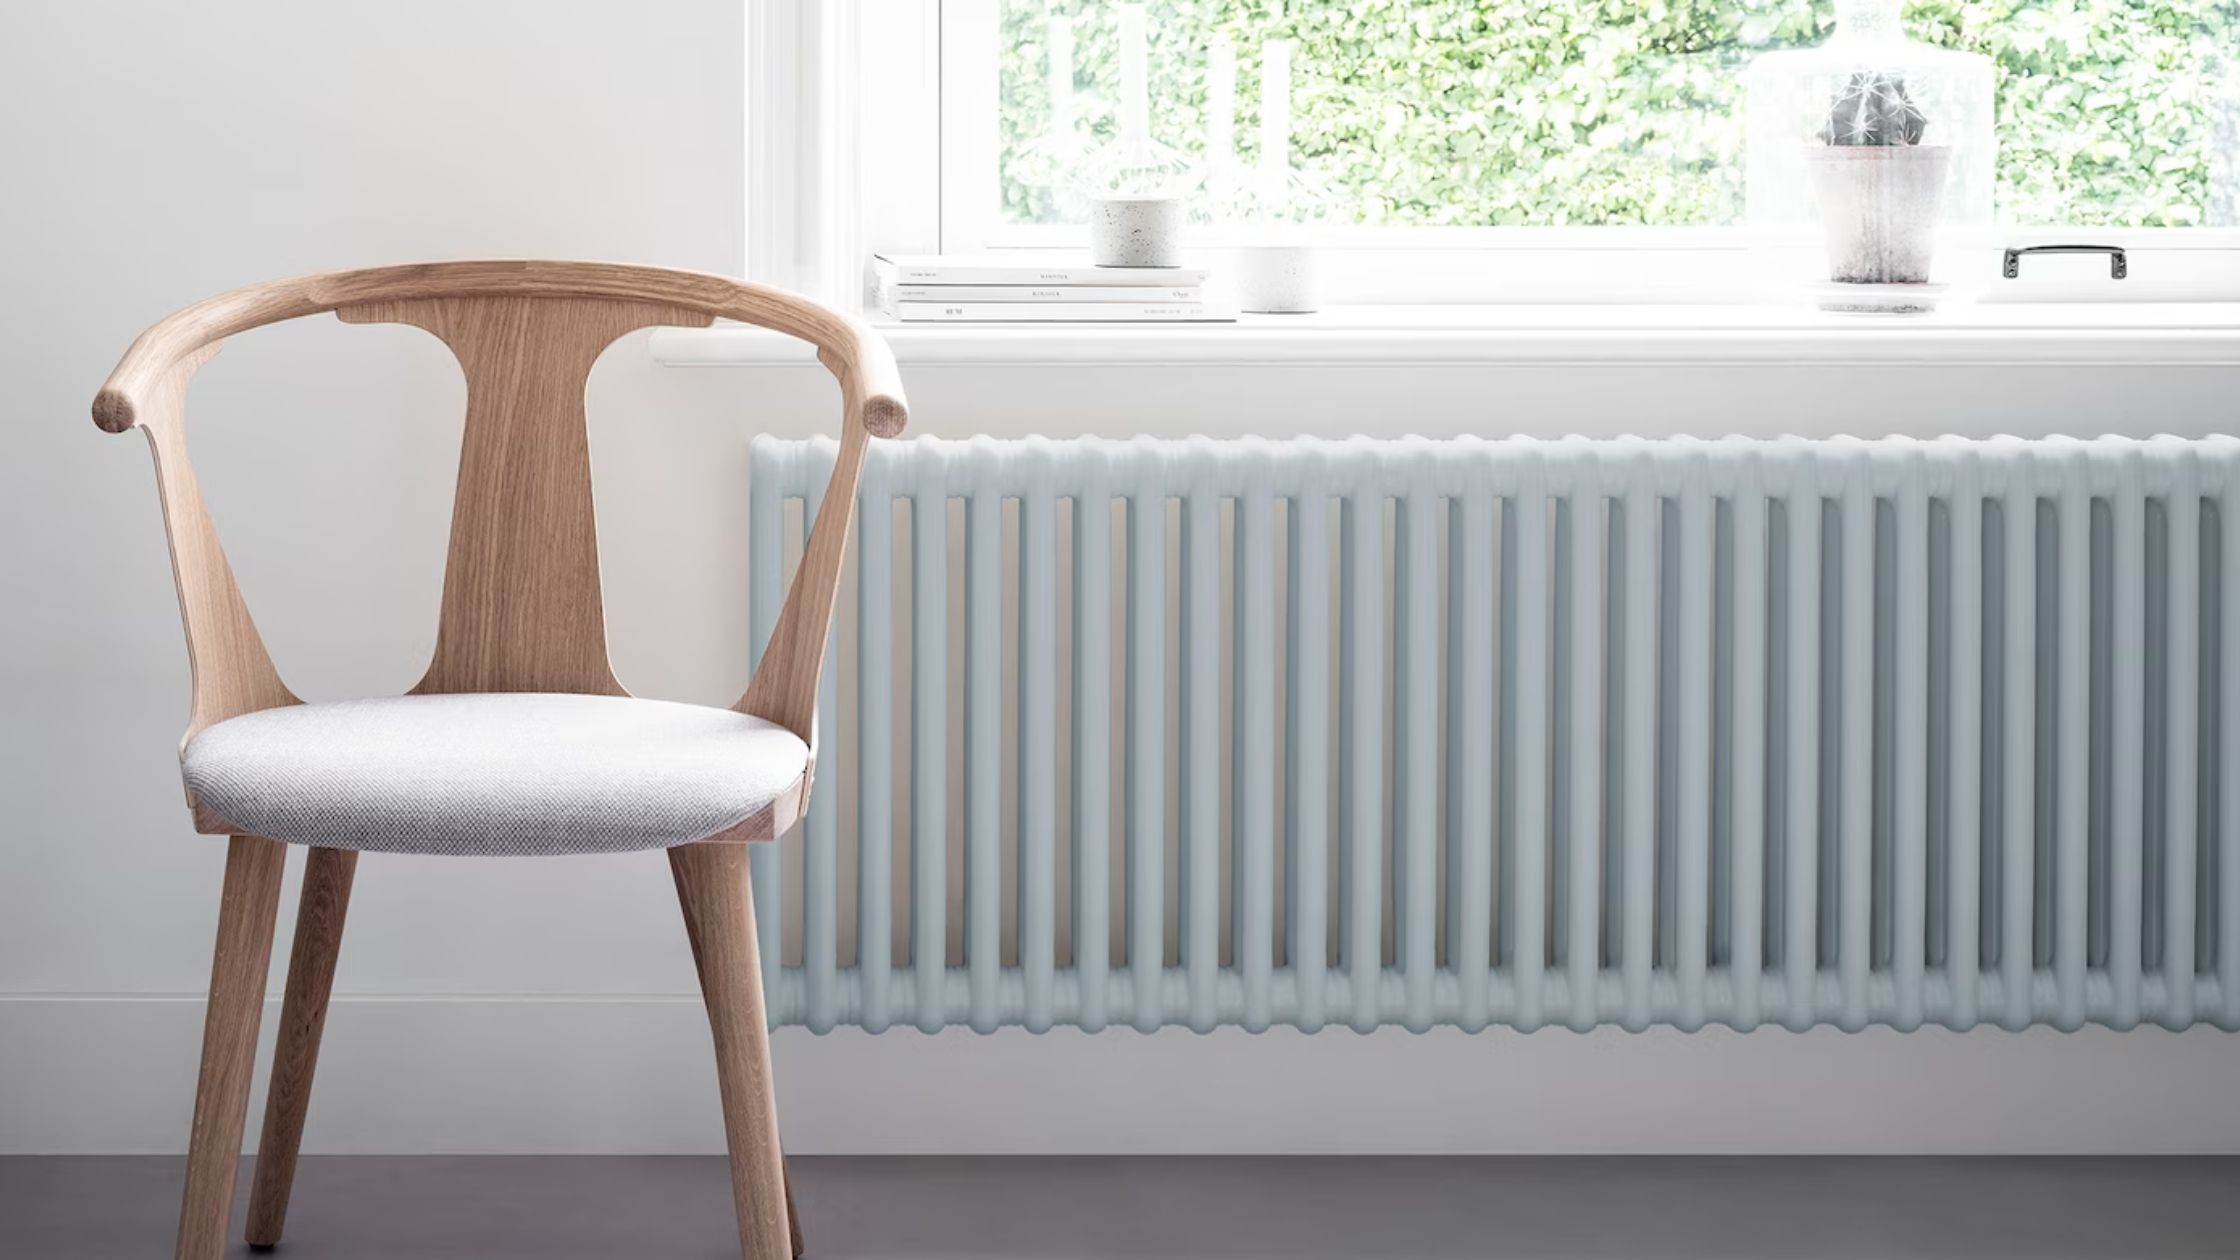
Choosing the right paint is essential when painting a radiator. It is important not to use an ordinary wall paint as it cannot withstand high temperatures. Wall paints are certainly not scratch-resistant enough to be used on a radiator either. That is, if they would adhere enough to stay on it at all.
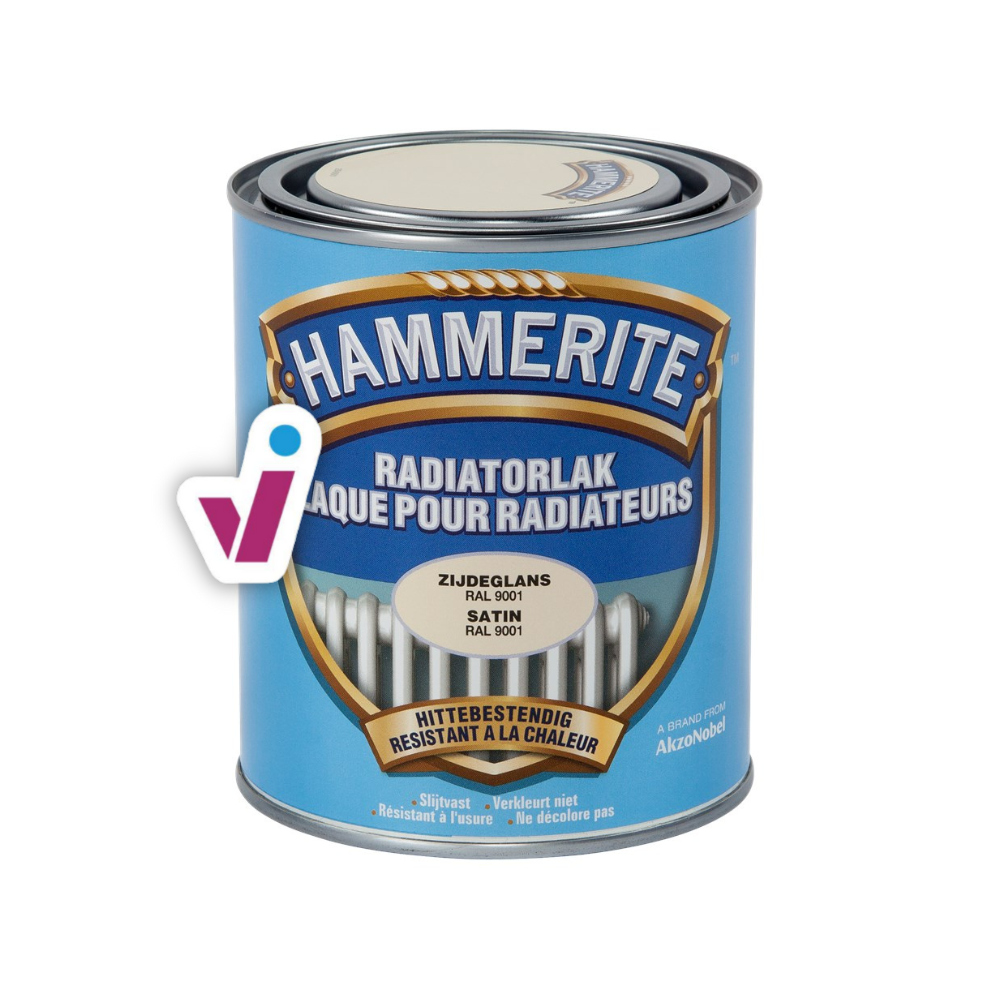
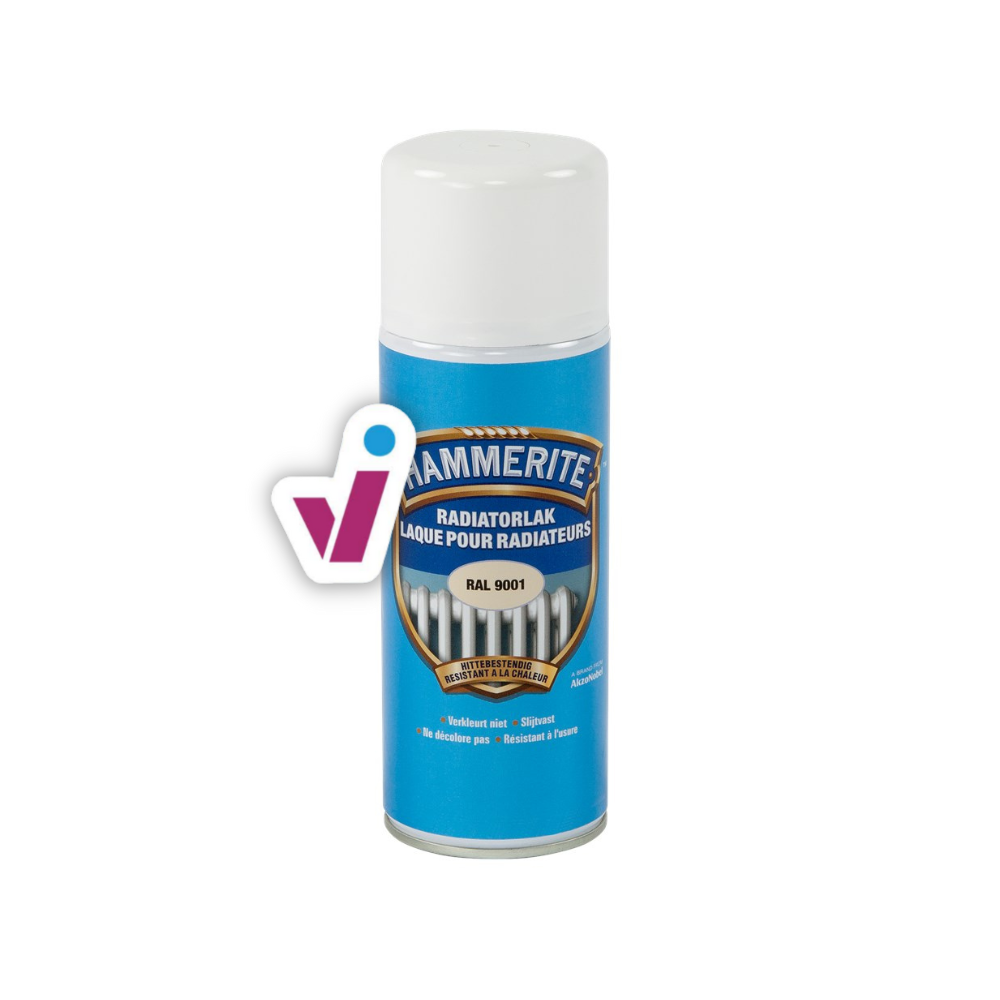
Instead, you can use a special radiator paint, such as Hammerite radiator paint or the Levis radiator paint "Expert Ferro Radiator". Other heat-resistant paints are also an excellent choice.
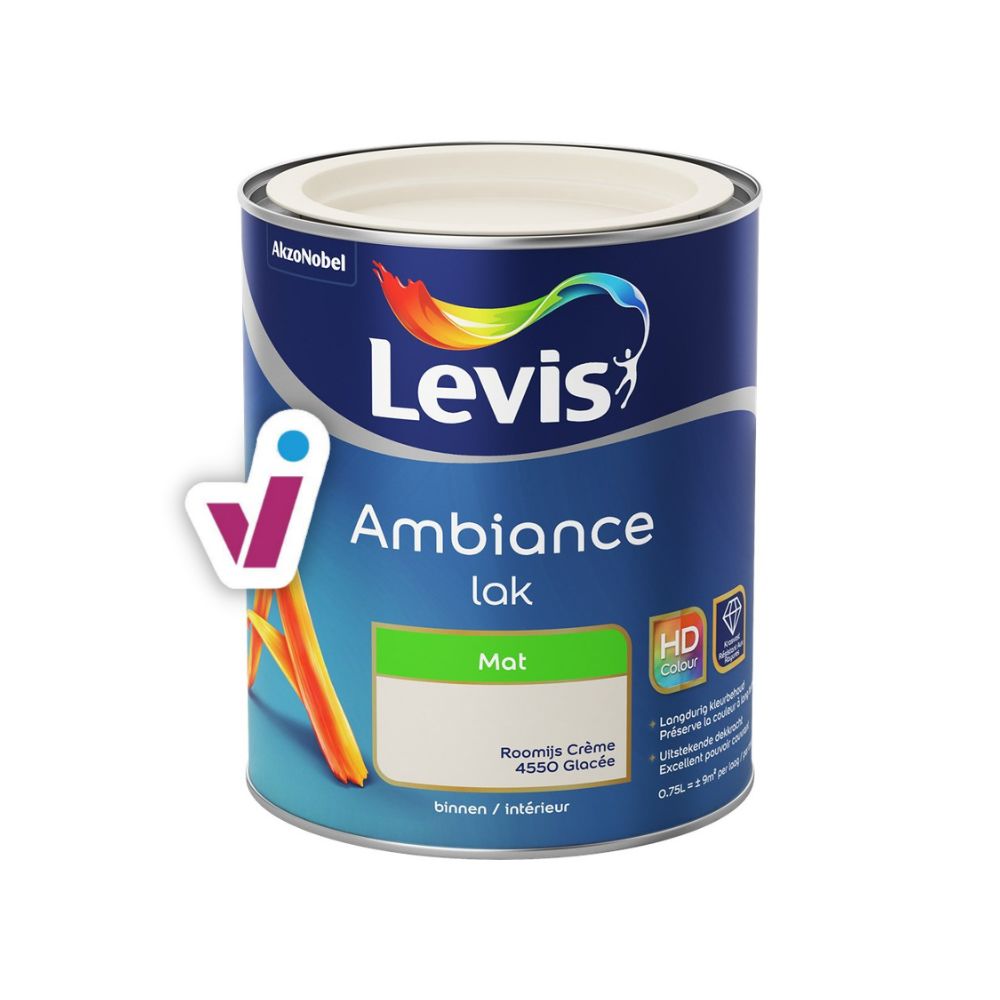
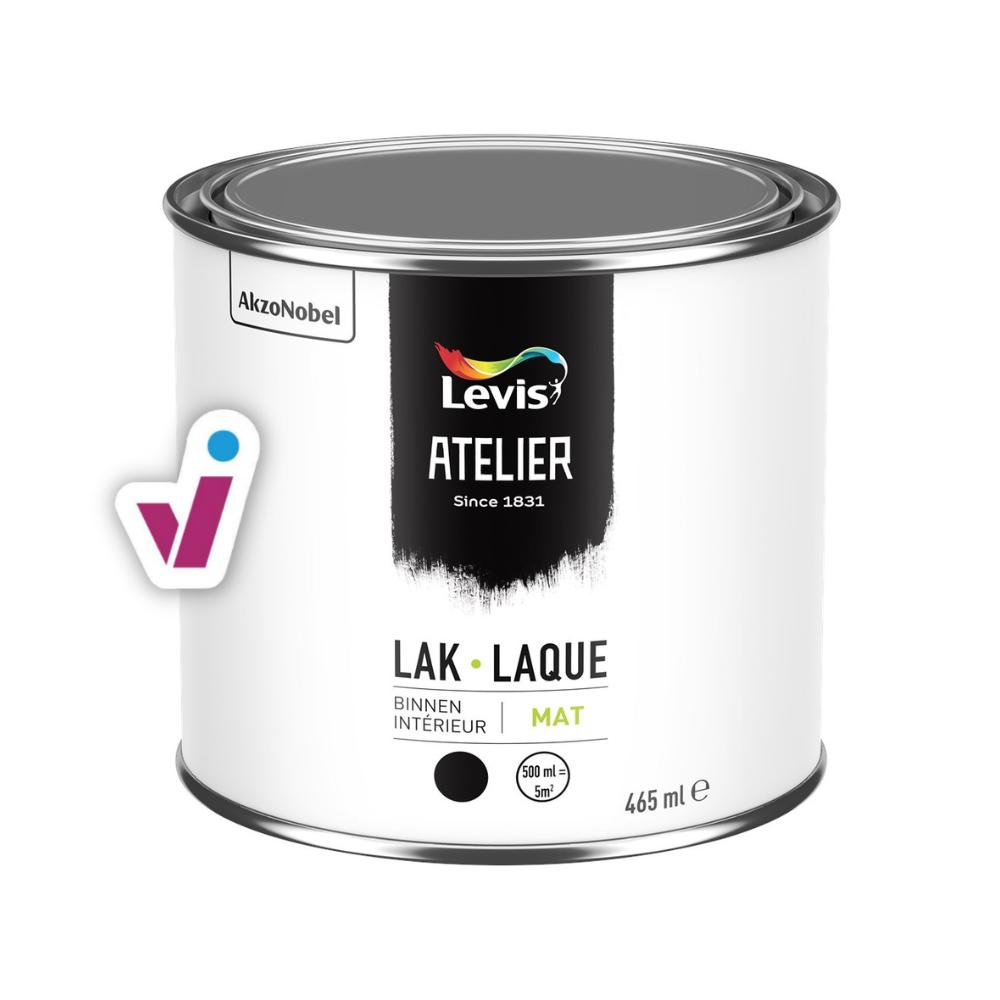
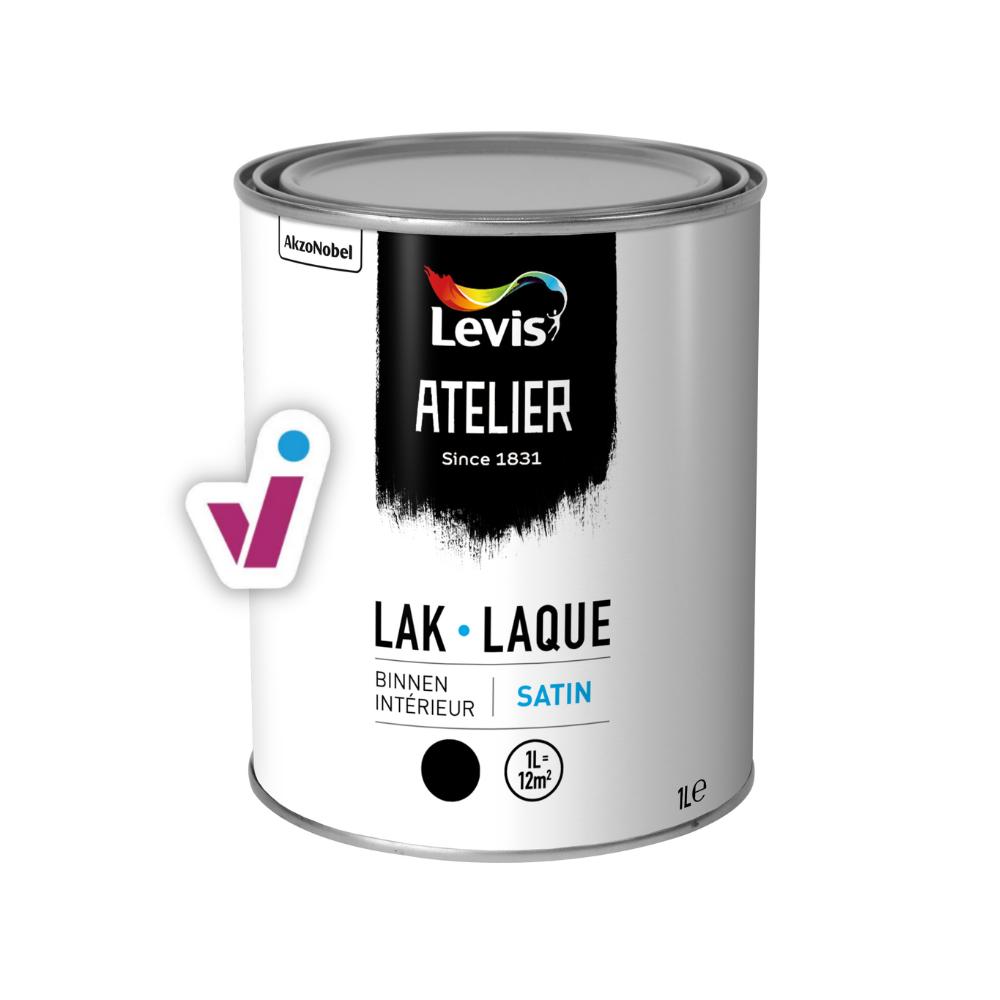
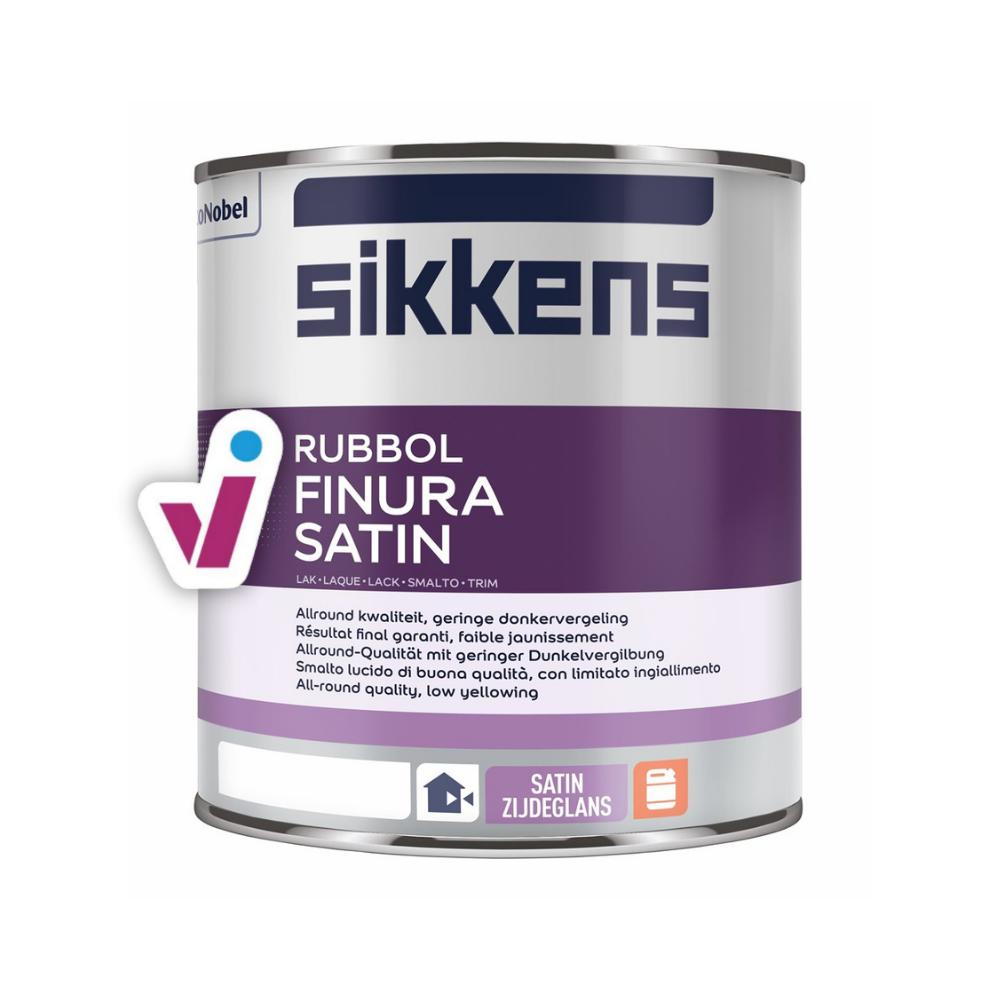
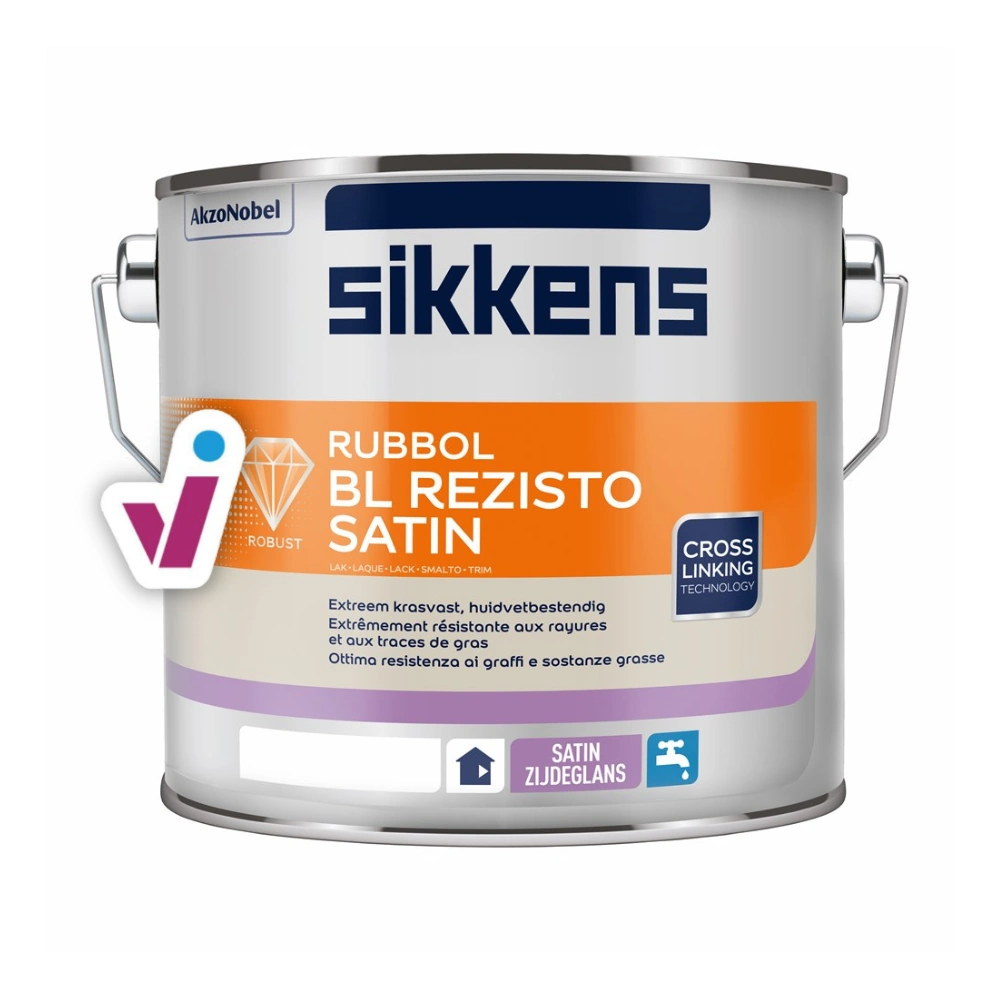
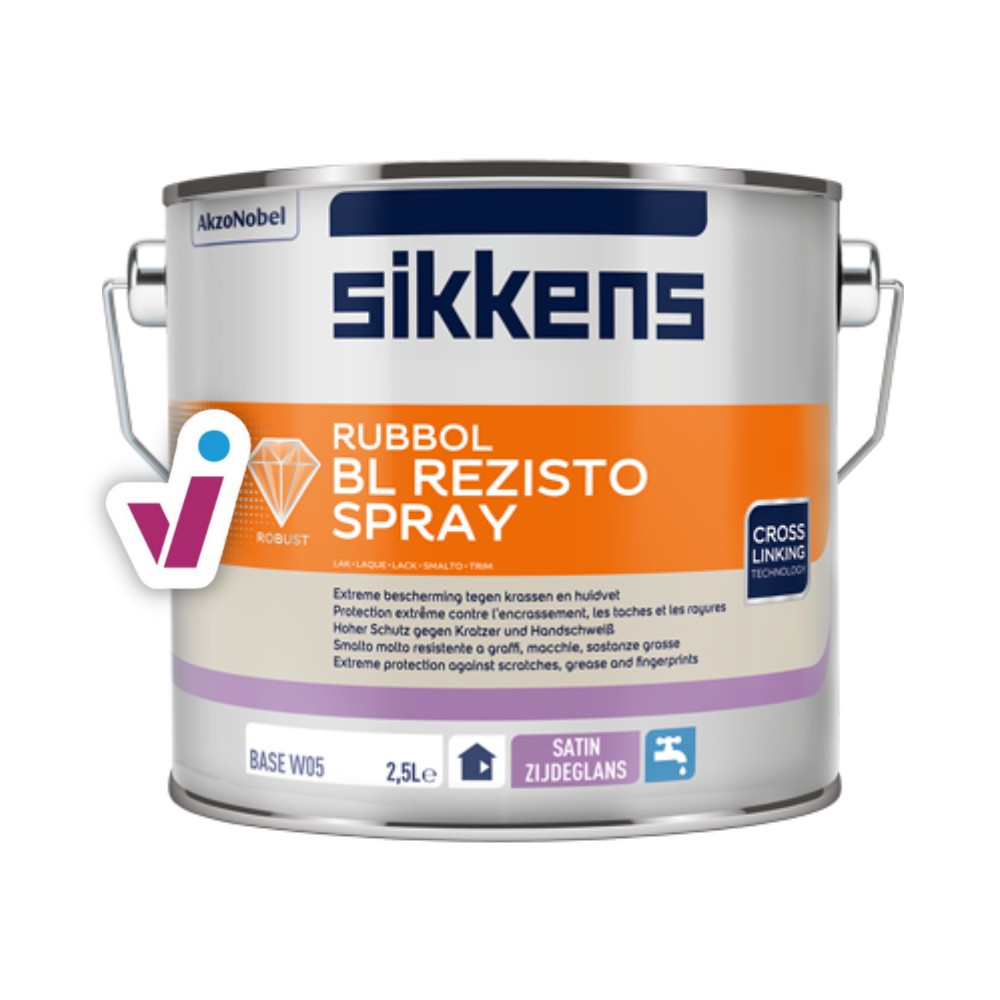
Another alternative are water-based lacquers, which offer more colour options and finishes. These lacquers do not have a strong odour and do not yellow, making them ideal for light colours. If you choose a water-based lacquer, it is very important to use a suitable primer for adhesion.
Step 3: around the radiator (optional)
You may need to freshen up around the radiator's surface as well. Unsightly heating pipes might spoil your beautiful, freshly painted radiator a bit.
If necessary, you can then choose to paint the radiator pipes as well. Make sure you use the right paint, i.e. paint suitable for the hot pipes.
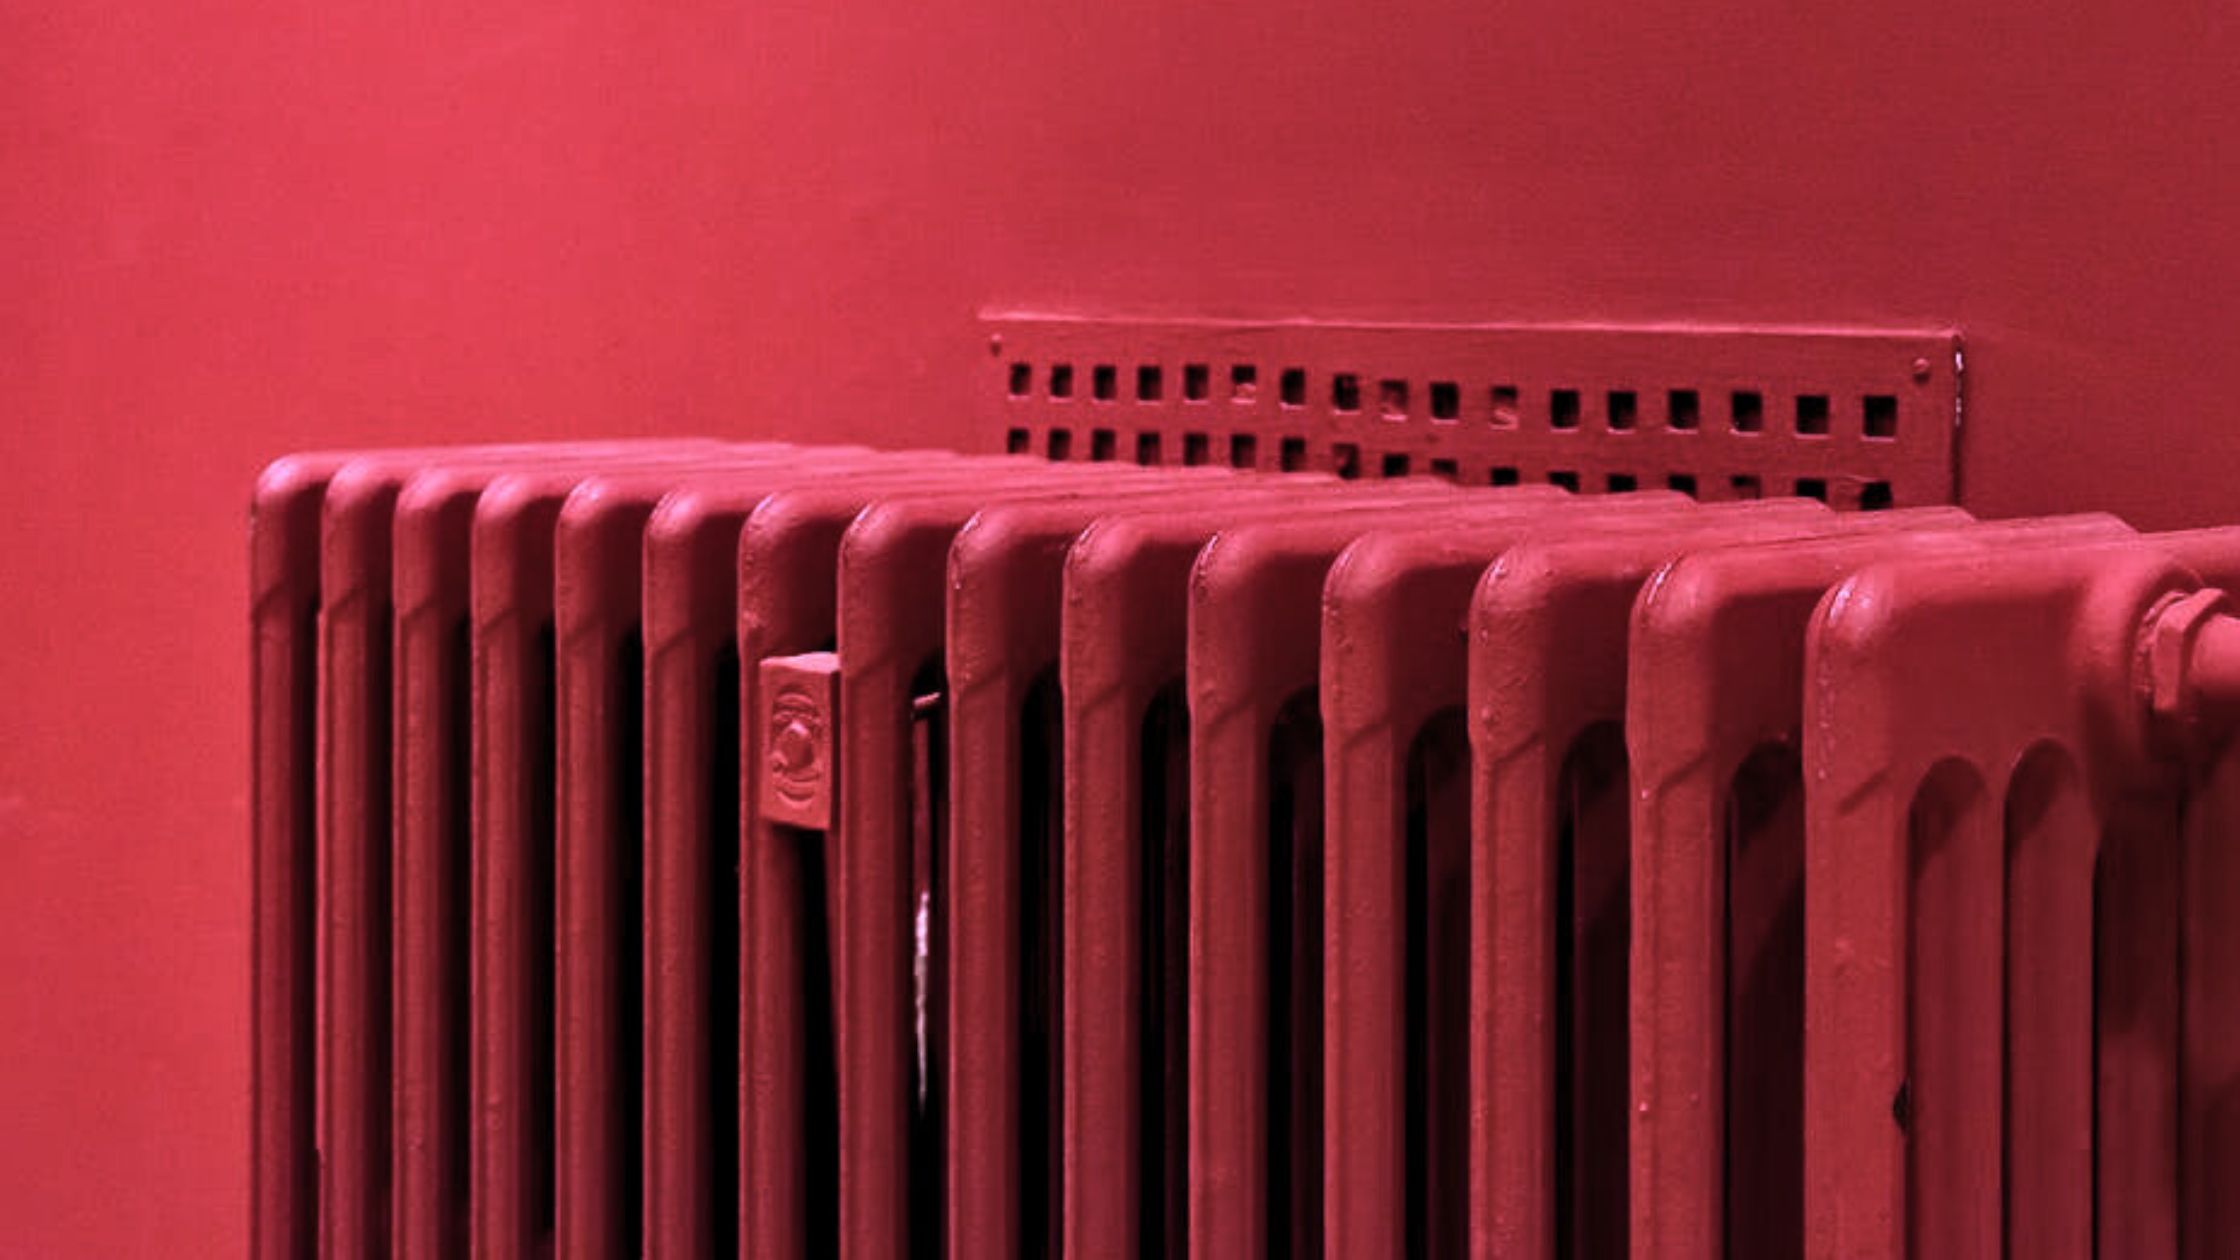
Perhaps you also want to paint the wall behind the radiator. For example, you could include your radiator in an accent wall by painting the wall and the radiator the same colour. In that case, take a look at our step-by-step plan for painting walls.
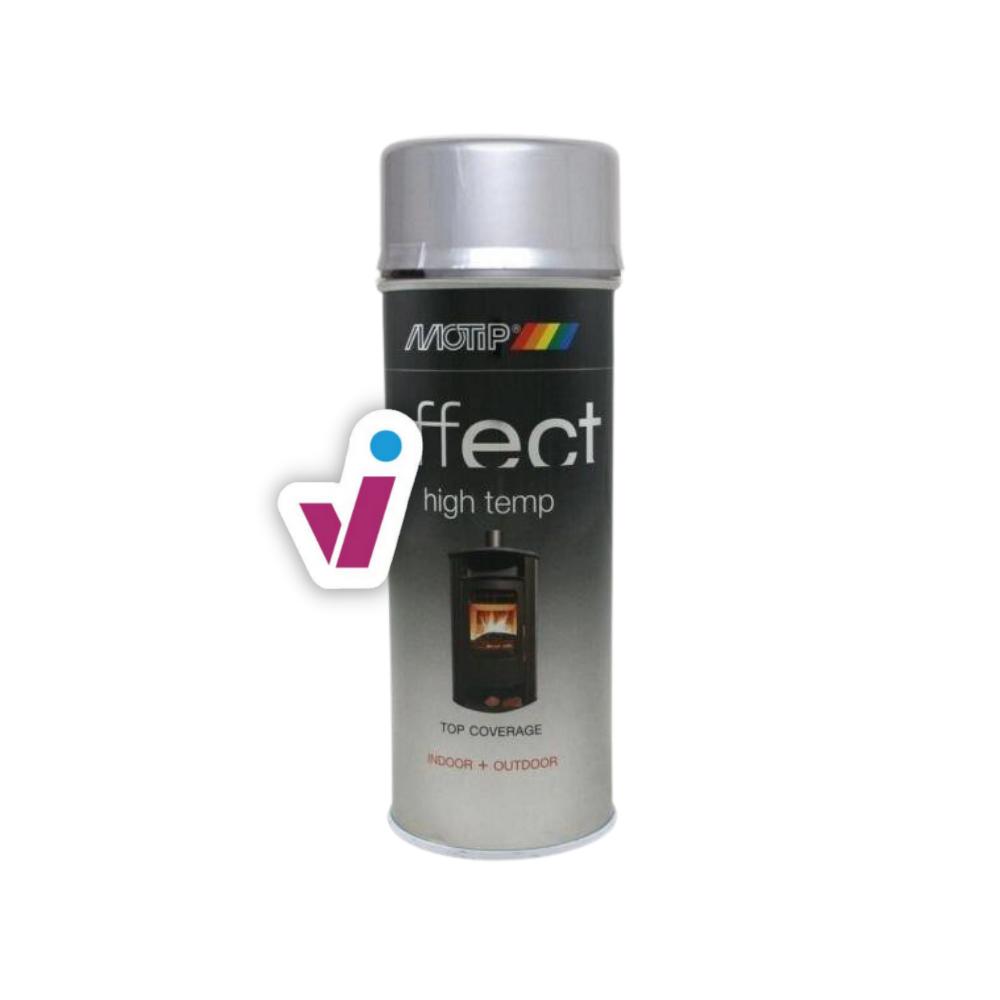
High-quality and high-quality heat-resistant lacquer spray for treating treated and untreated substrates subjected to very high temperatures.
High-quality and high-quality heat-resistant lacquer spray for treating treated and untreated substrates subjected to very high temperatures.
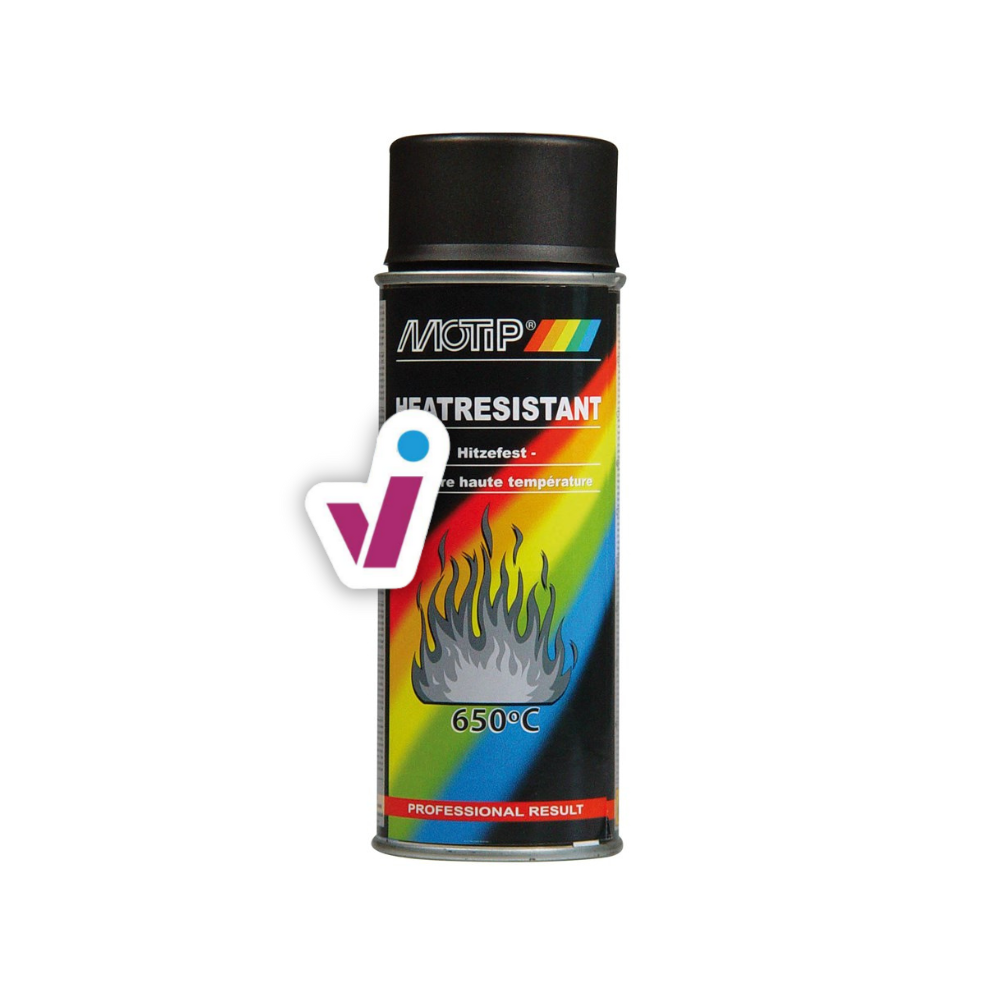
Heat-resistant lacquer for treating treated and untreated substrates exposed to very high temperatures.
Heat-resistant lacquer for treating treated and untreated substrates exposed to very high temperatures.
Checklist
- Degrease and clean well
- Sand the radiator
- Apply the right primer
- Paint your radiator
- Optionally paint the surroundings
Useful tools
Need help?
If some of the steps aren't entirely clear to you, or if you are in a specific situation that isn't covered by our how-to guide, then our experts will be happy to help.


